To Assign quick fees, go to the Fees Collection > Quick Fees, After click on it, Quick Fees page will be open.
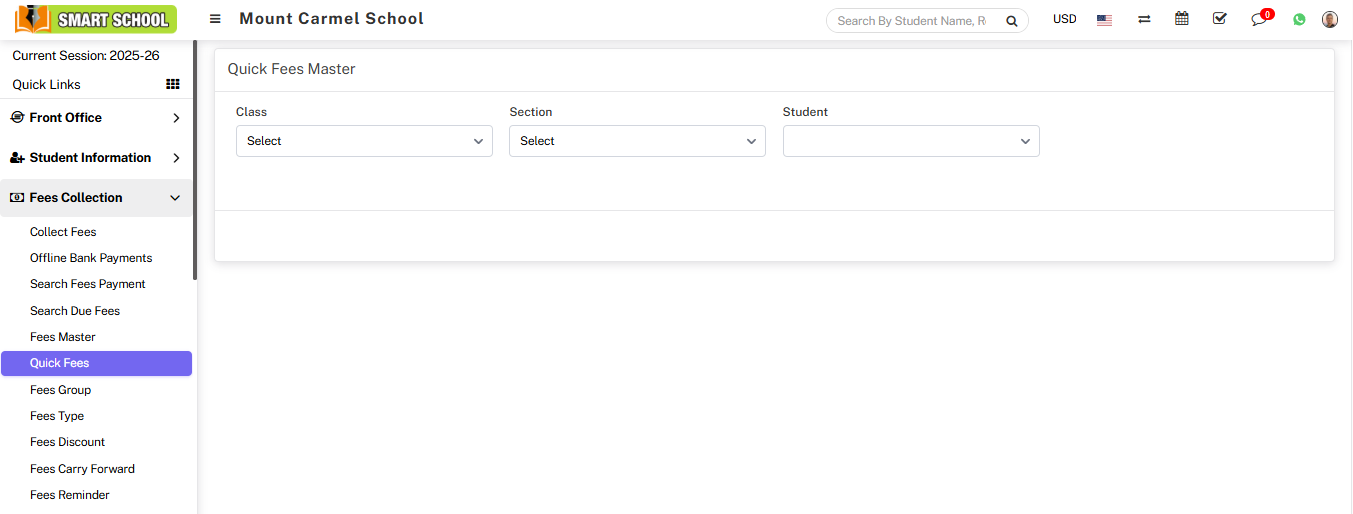
On this page, you can see the Class, Section, and Student fields. When you select the Class and Section, you can choose a student from the Student dropdown to assign the quick fees.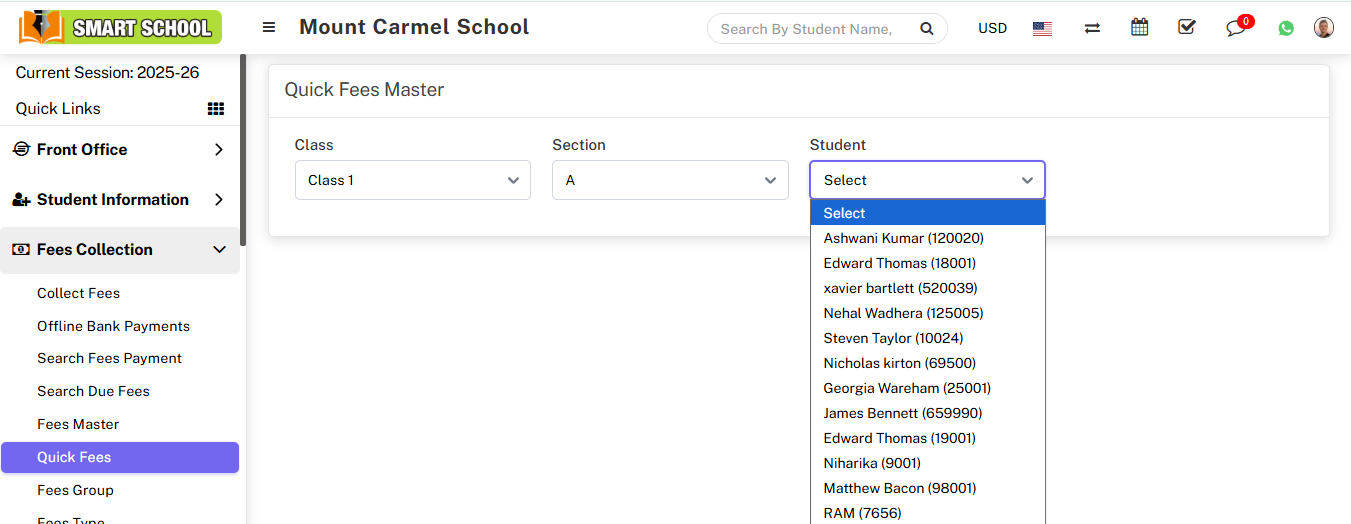
When you select the student to whom you want to create and assign the quick fees, additional fields such as Total Fees, First Instalment, Balance Fees, Number of Instalments, Monthly Due Date, and Fine Type will appear below.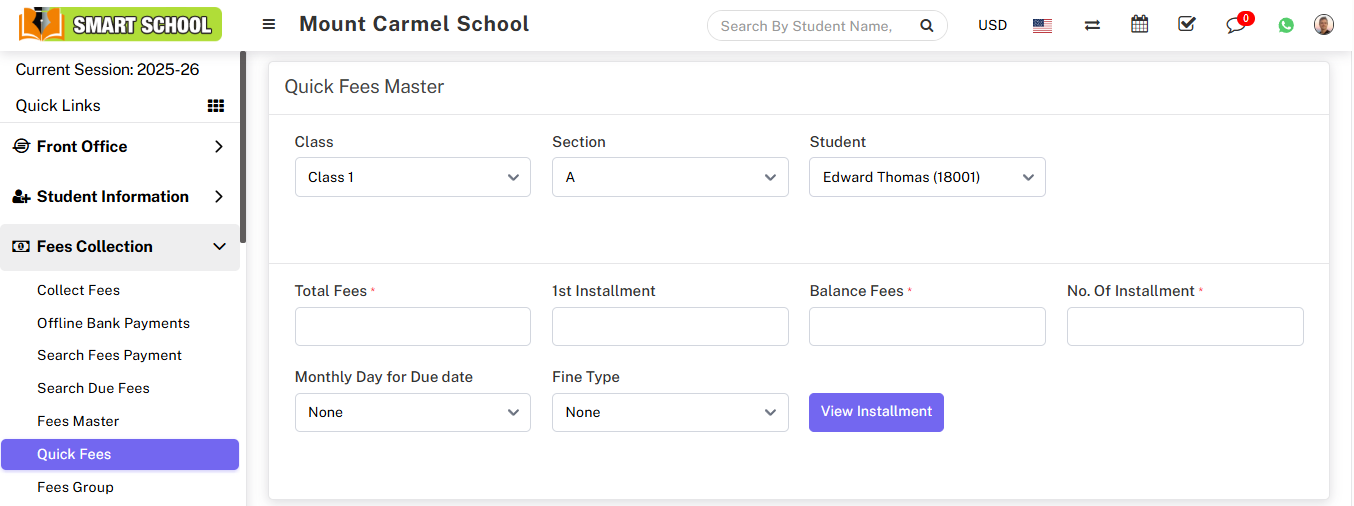
In the Total Fees field, enter the total amount of fees assigned to the student.
The First Installment field is optional. If the student wishes to pay an initial installment, enter the amount here. If not, this field can be left blank.
In the Balance Fees field, if no amount is entered in the First Installment, the total fees will be displayed.
The Number of Installments field allows you to specify how many installments the student will use to pay the fees. For example, if the total fees are 1000 and no first installment is entered, the balance fees remain 1000. If the student wants to pay this amount over 10 months, enter 10 in this field.
The Monthly Day for Due Date field determines the due date for each installment in the upcoming months. For example, if the student plans to pay each installment on the 10th of every month, enter 10 here.
The Fine Type field allows you to select how a fine is applied in case of late payment. You can choose Fix Amount, Percentage, or None. If Fix Amount is selected, an additional field, Fine Type Value, will appear.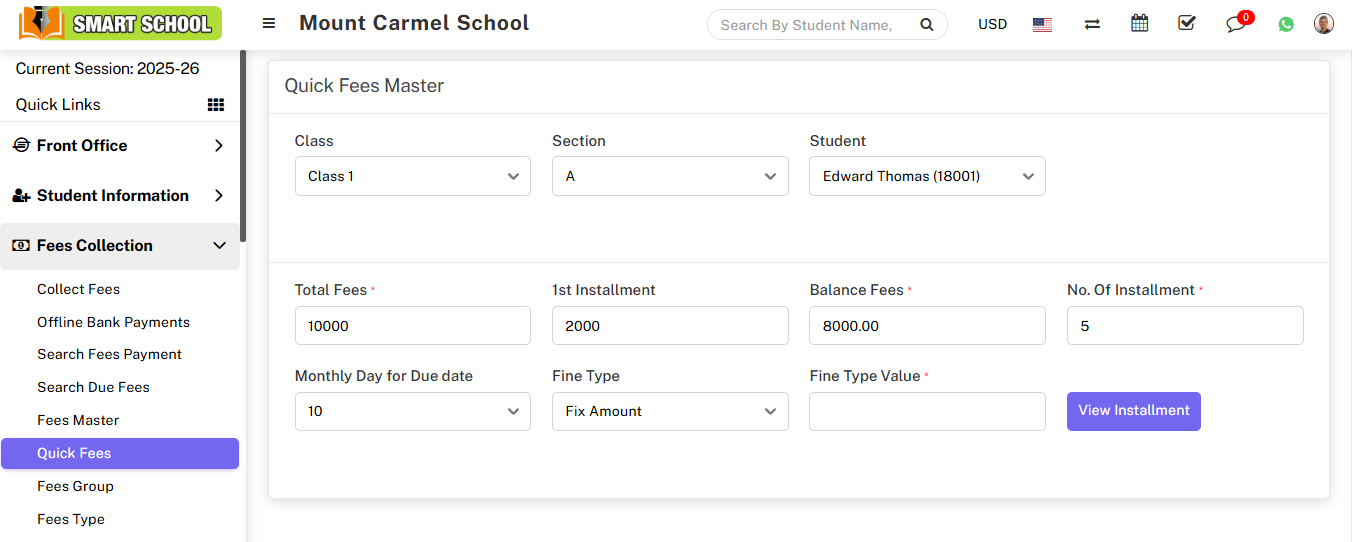
In Fine Type Value, enter the fix amount. For instance, if you enter 50, then if the installment is not paid by the due date, an additional 50 will be charged as a fine for that month.
In Fine Type Value, enter the percentage. For instance, if you enter 10%, then if the installment is not paid by the due date, an additional 10% will be charged as a fine for that month.
Now click on View Installment button showing at the last, so that all the 10 months installment will be generated.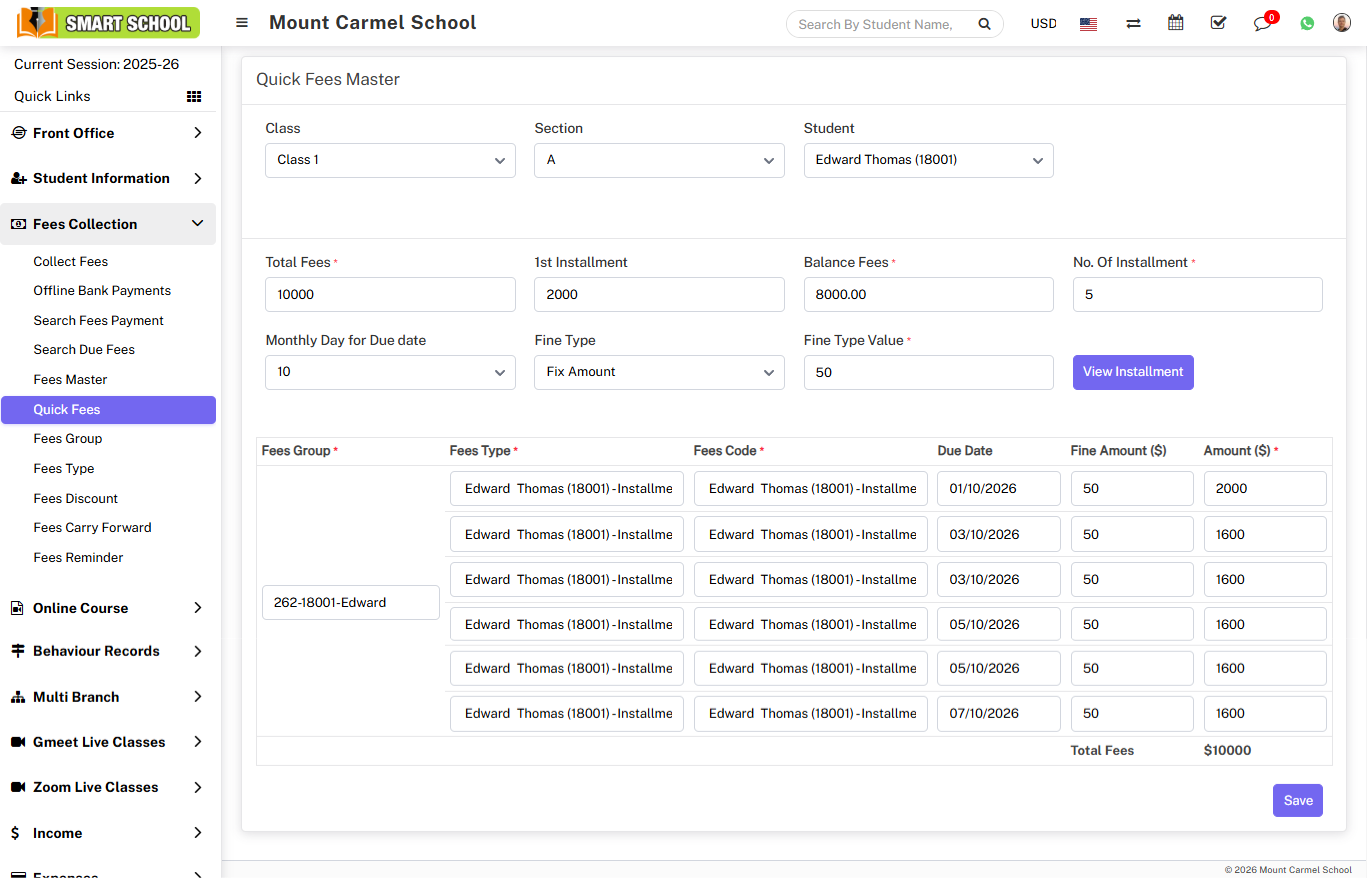
Below, you can see the generated installment details for the student's fees. The table includes columns for Fees Group, Fees Type, Fees Code, Due Dates for each month, Fine Amount, and Installment Amount.
At the bottom, the Total Fees of the student will be displayed.
After reviewing all the details, if everything is correct according to you, click the Save button located at the bottom right corner. Once you click Save, the fees will be assigned to the student successfully.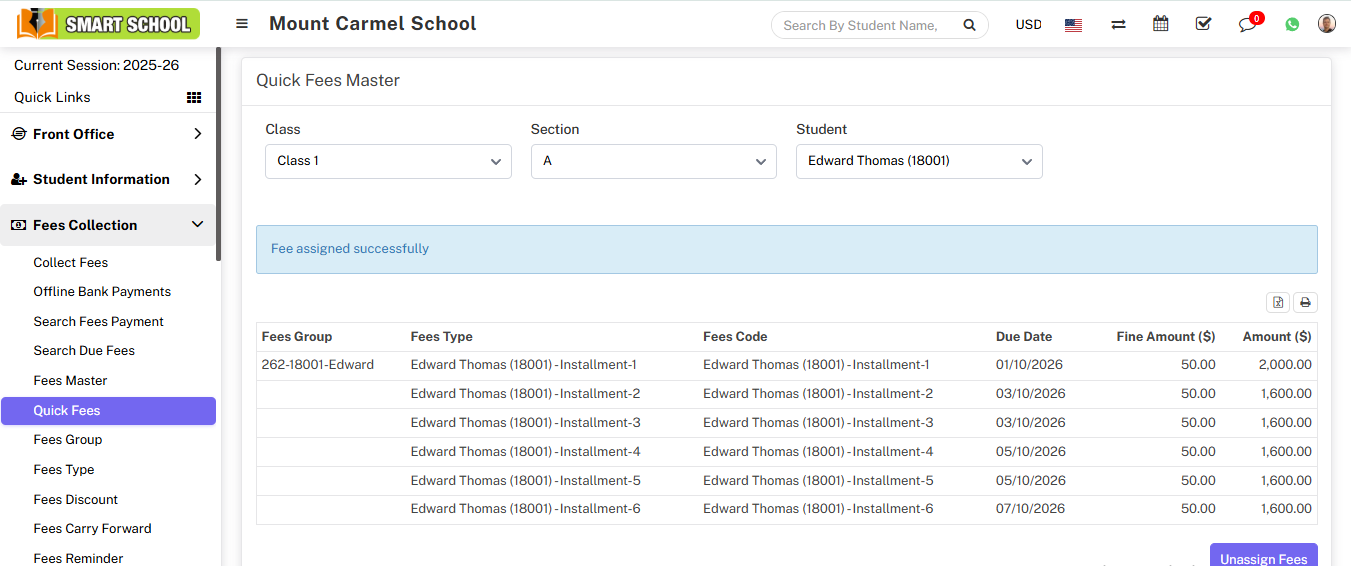
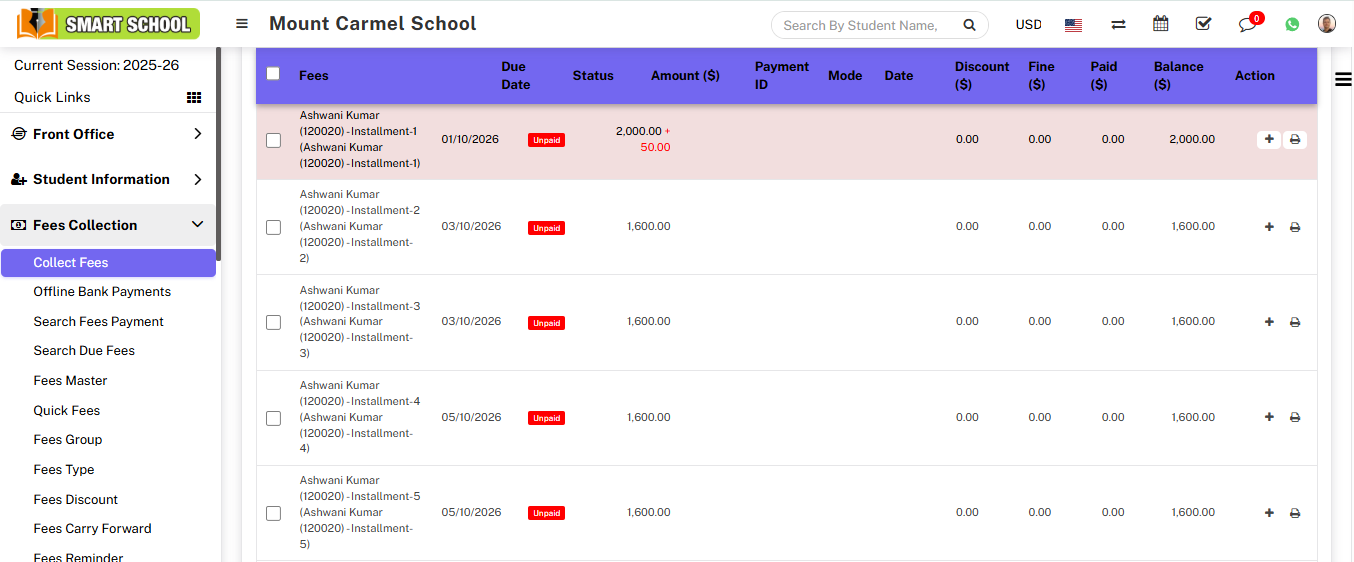
To view the assigned quick fees, navigate to the Collect Fees page under the Fees Collection module.
Then, click on Collect Fees for the student to whom you assigned the quick fees.
Below, you will see a detailed list of all the fees assigned to that student.
To unassign the assigned fees, go to the Quick Fees page and select the Class and Section of the student. Then, choose the student whose fees you want to unassign. Below, you will see the list of assigned fees, and above, a note will indicate that the fees have already been assigned. From here, you can proceed with unassigning the fees as needed.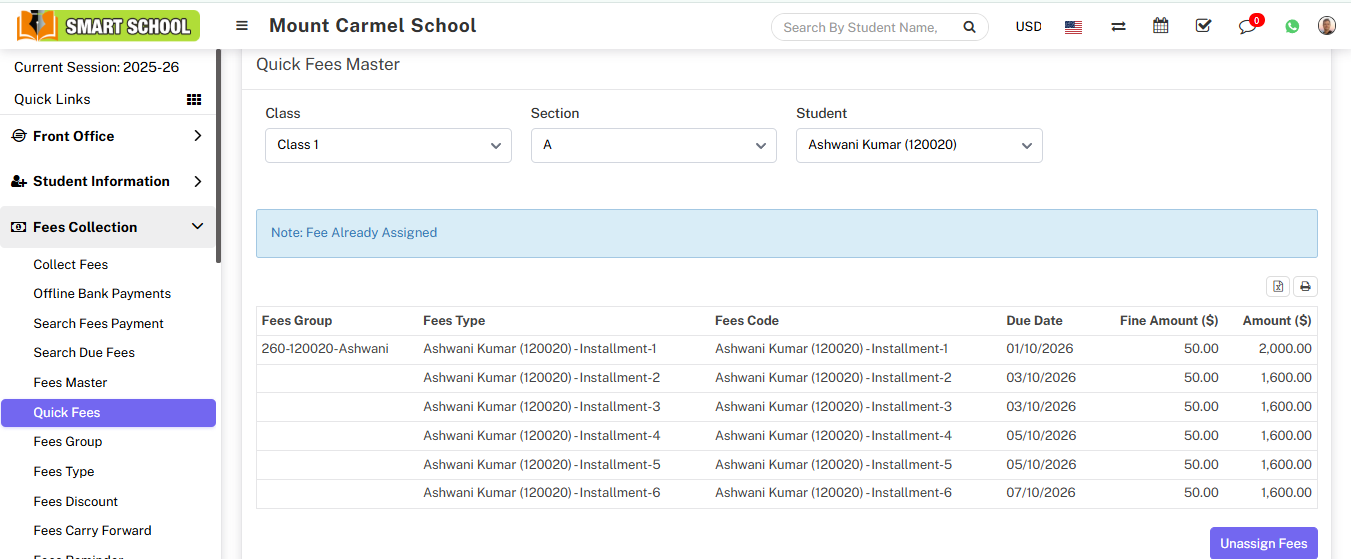
In the bottom right corner, you will see the Unassign Fees button. Simply click on it, Alert will be display
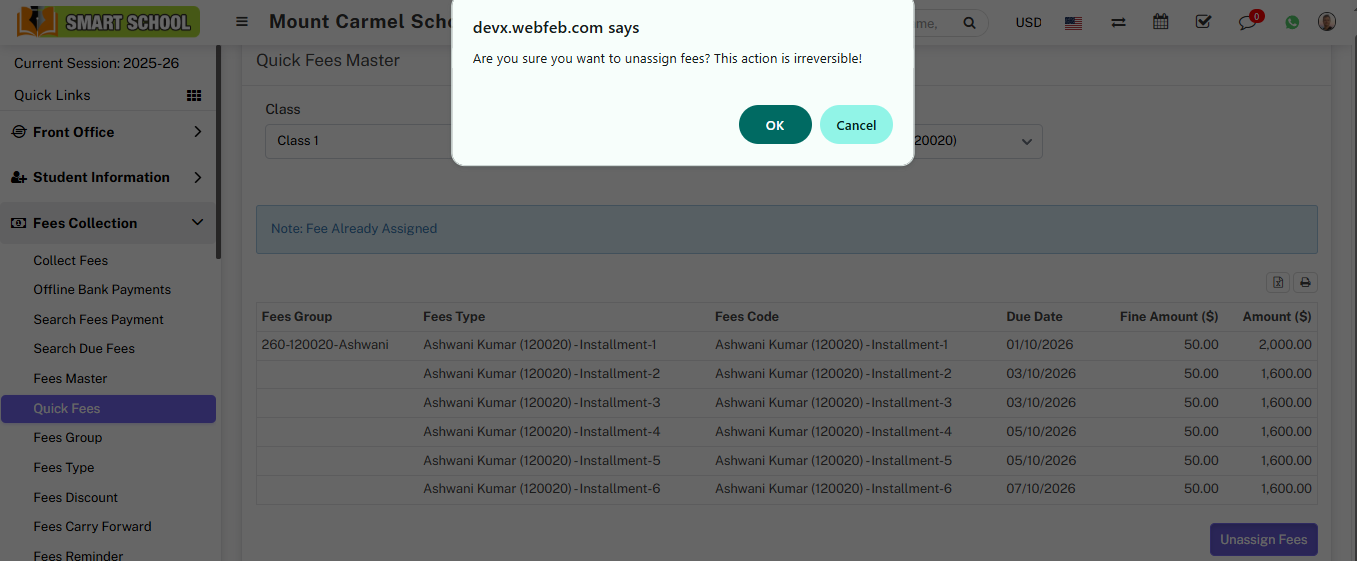
Now click on OK button and the assigned fees will be unassigned successfully.
