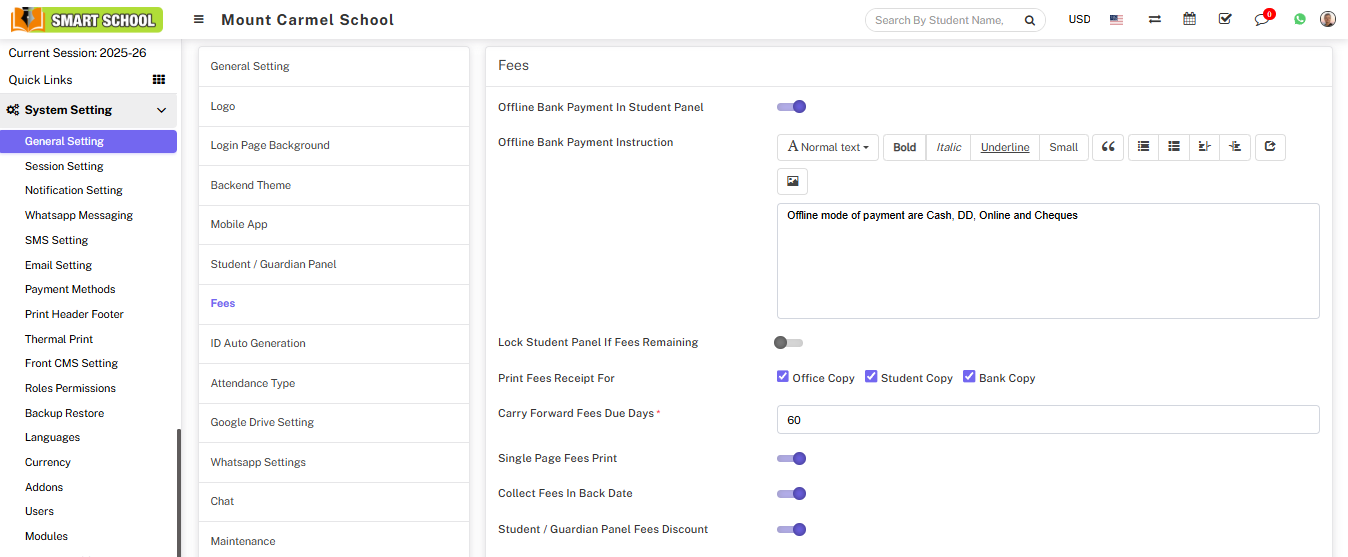
Offline Bank Payment In Student Panel
For offline bank payment in the student panel, go to System Setting > General Setting, then Fees. Here you can Disabled or Enabled offline bank payment in the Student Panel.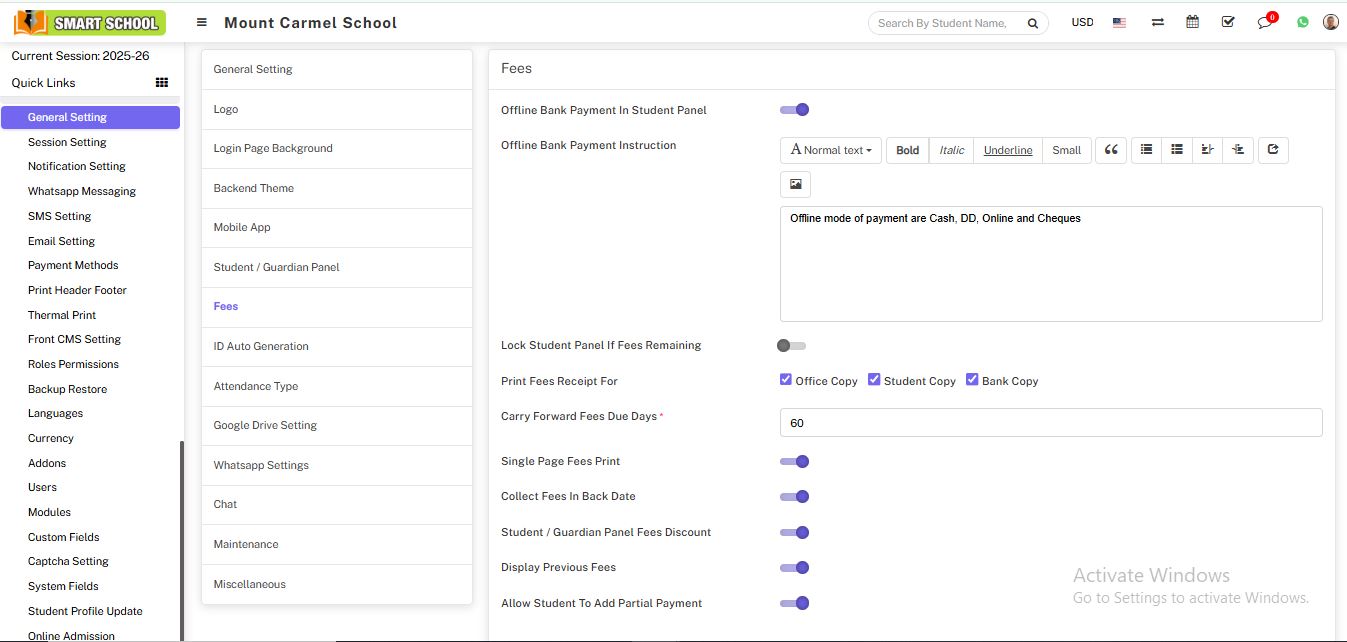
When you Enabled Offline Bank Payment In Student Panel permission, the Offline Bank Payment tab will appears in the student panel, allowing students to pay their fees by offline mode.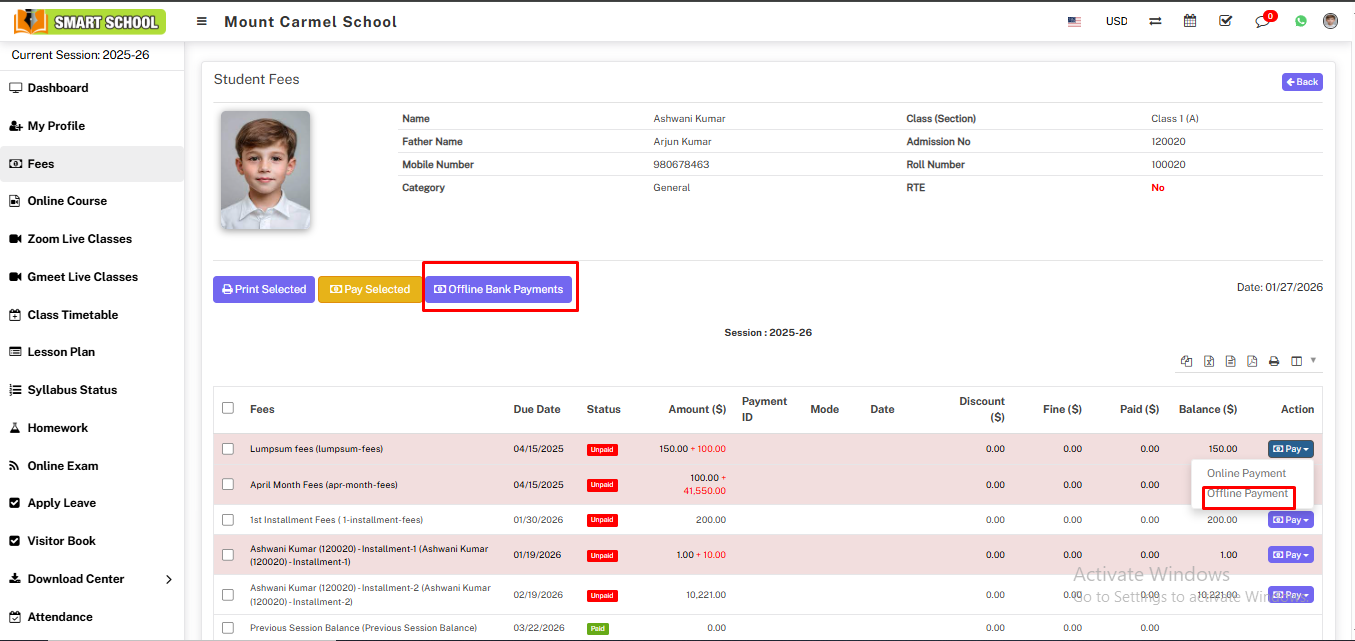
When you Disabled Offline Bank Payment In Student Panel permission, the Offline Bank Payment tab will disappears in the student panel and not allowing students to pay their fees by offline mode.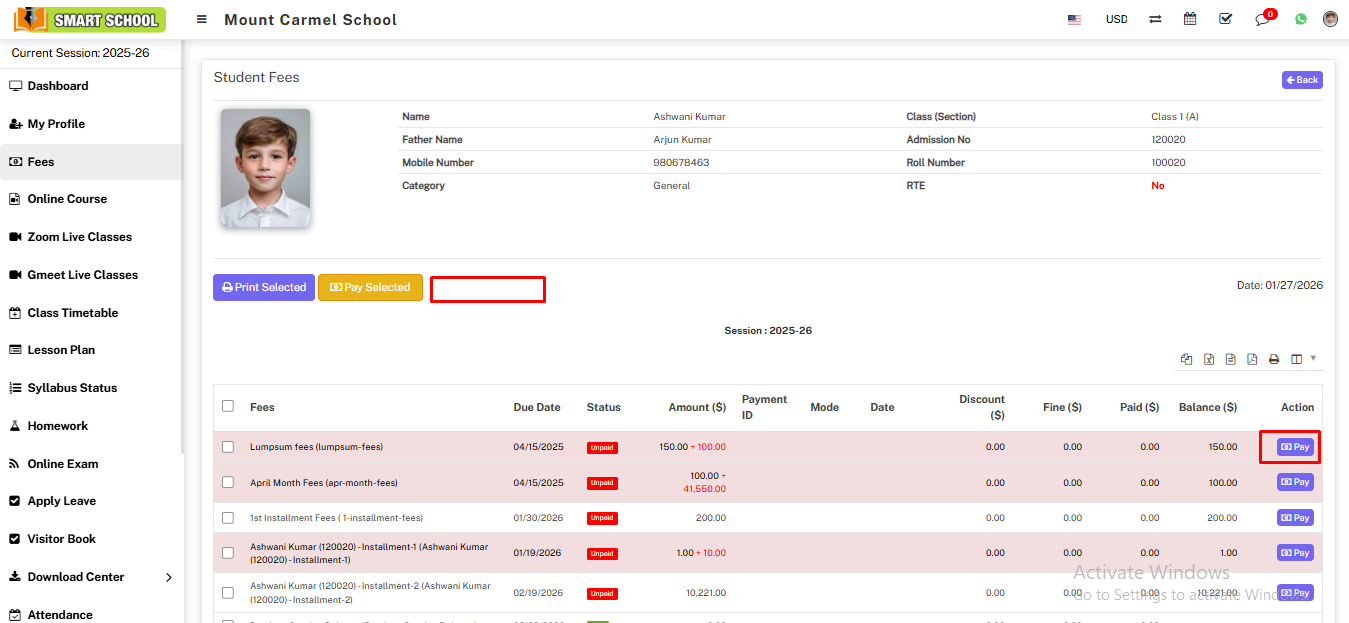
Offline Bank Payment Instruction:
In fees, you can see offline bank payment instruction option available.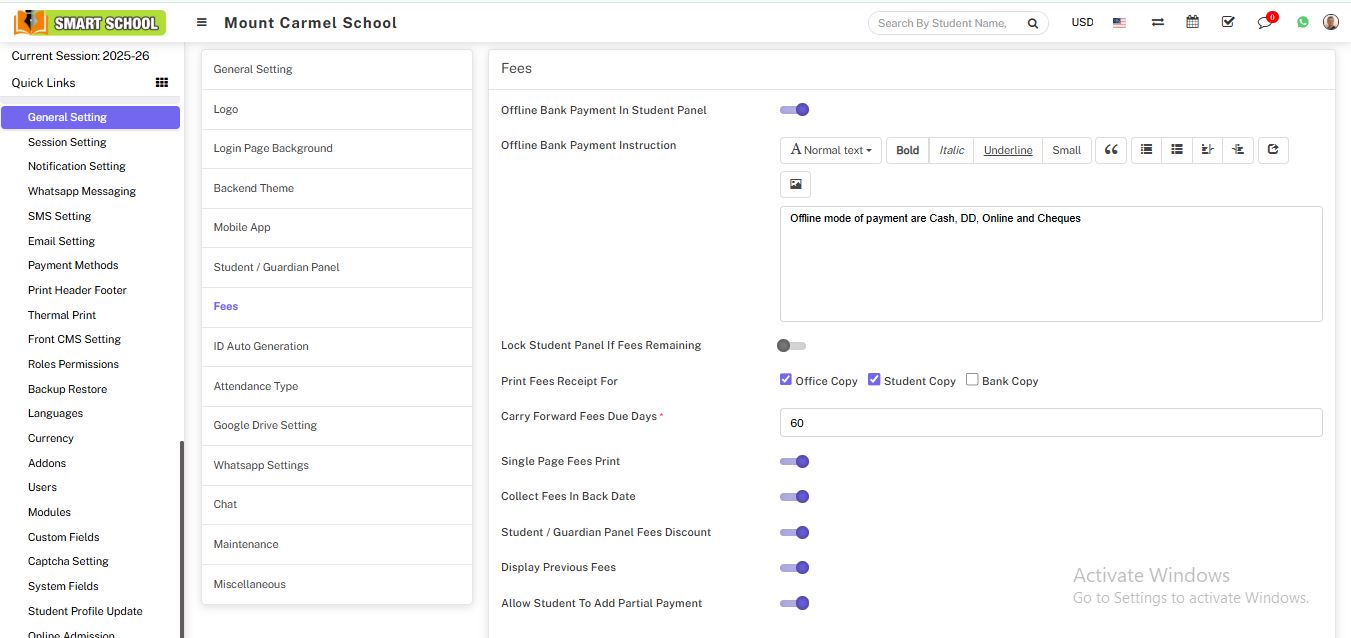
When you keeps the above Offline Bank Payment In Student Panel permission enabled, You can give the Instruction as offline modes of payment are cash, DD, Online and Cheques then click on Save button so that it will appear in Offline Bank Payment.
First you need to fill the instruction in the box and click on save button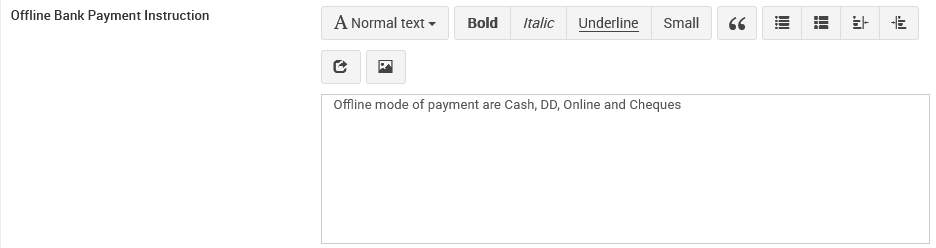
After click on save button, this instruction will be displayed in student side.
For check this instruction, go to Student Panel > Fees, now click on Pay so that online payment and offline payment drop down option available, now click on offline payment option.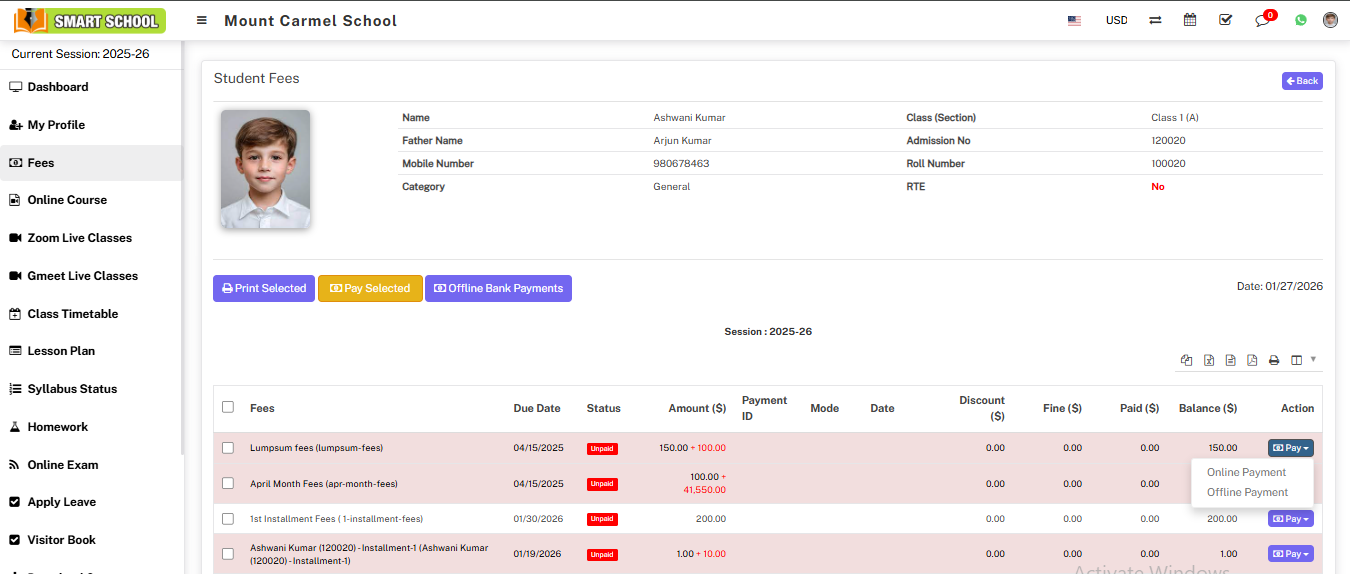
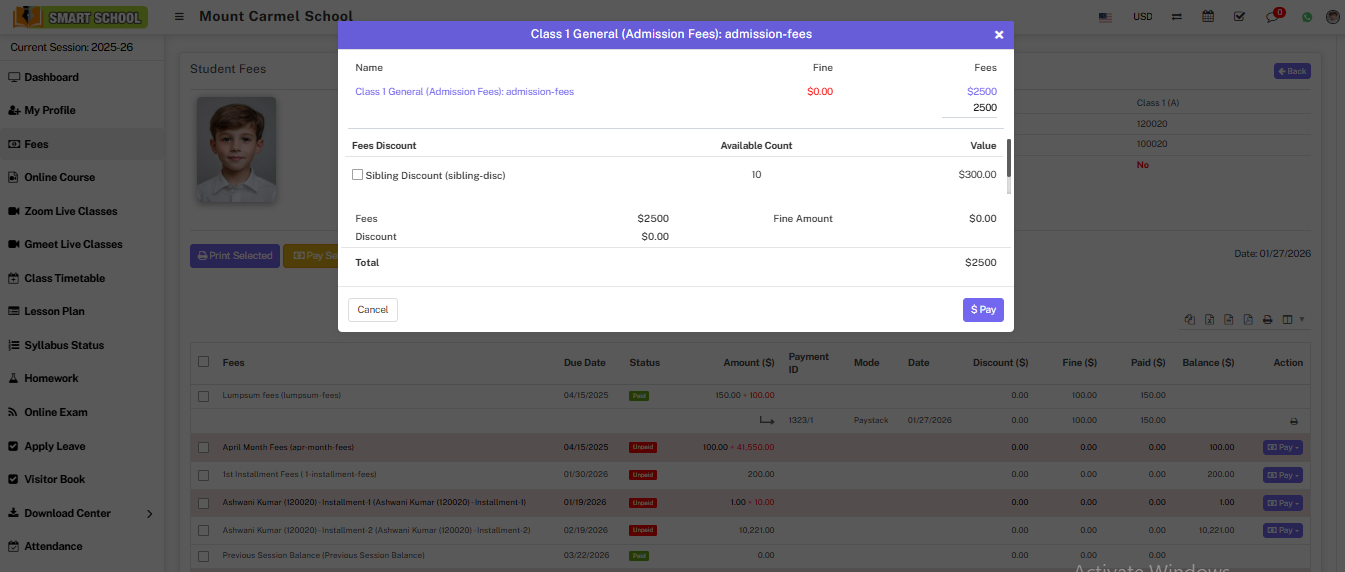
After click on Offline Payment option, Offline Bank Payment page will be open, here you can see the set instruction.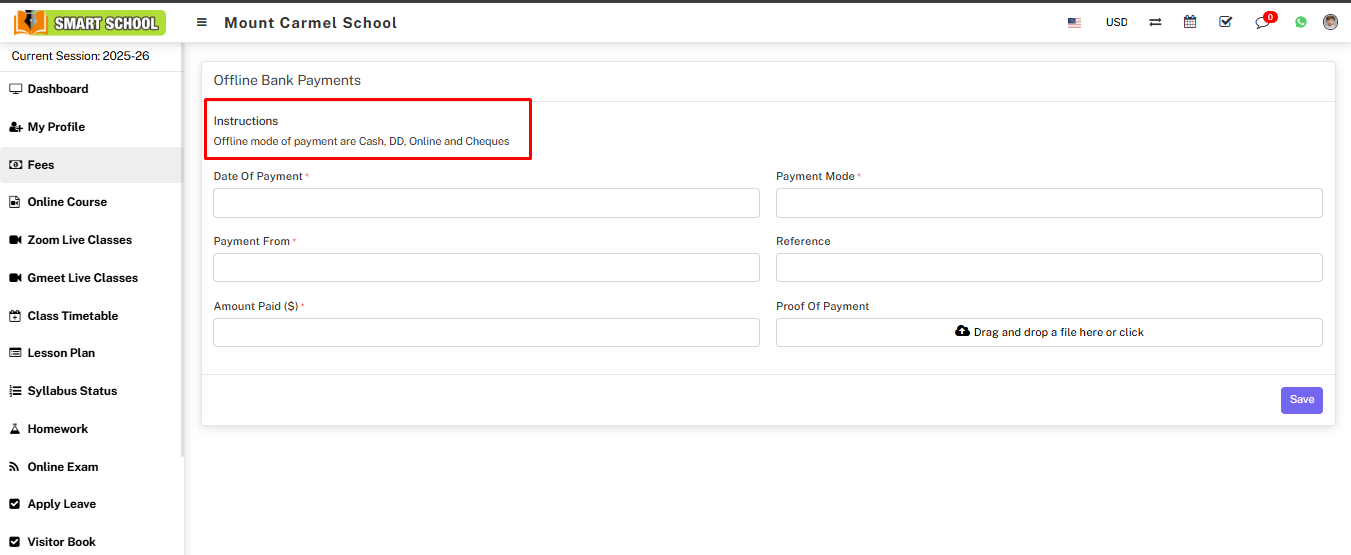
Lock Student Panel If Fees Remaining
Here you can Disabled or Enabled the Lock Student Panel If Fees Remaining.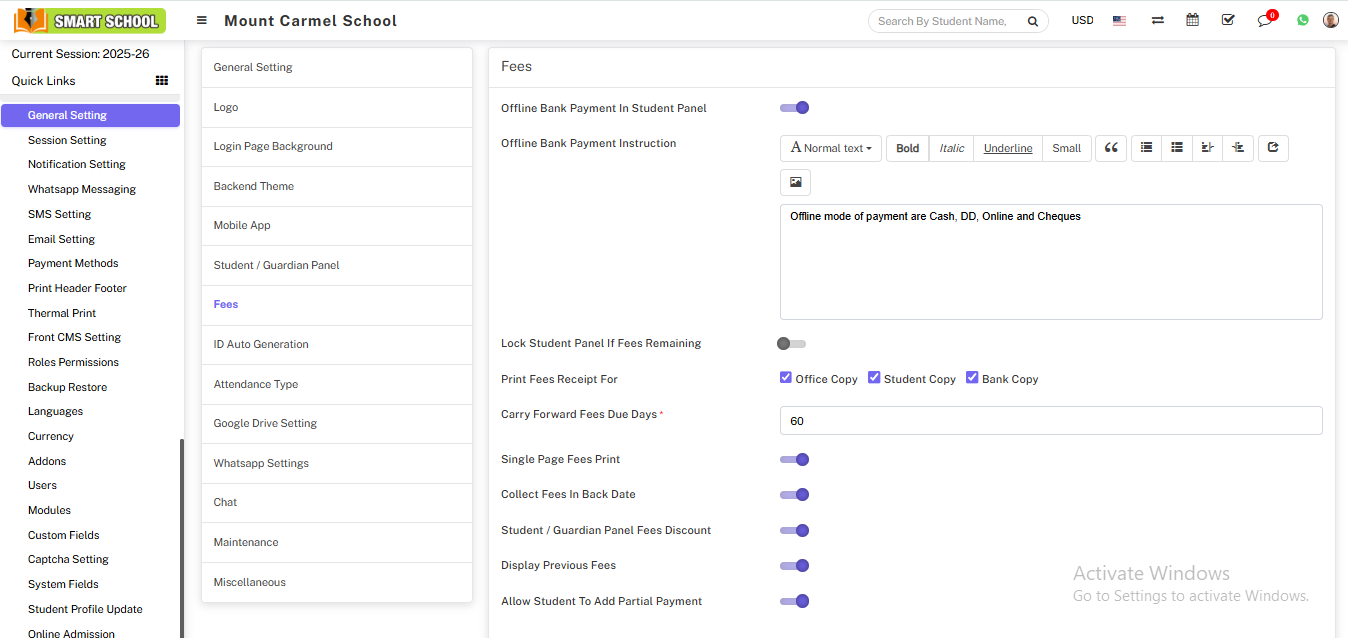
when you disable the lock student panel if fees remaining so student profile will not be disable and student can access their panel.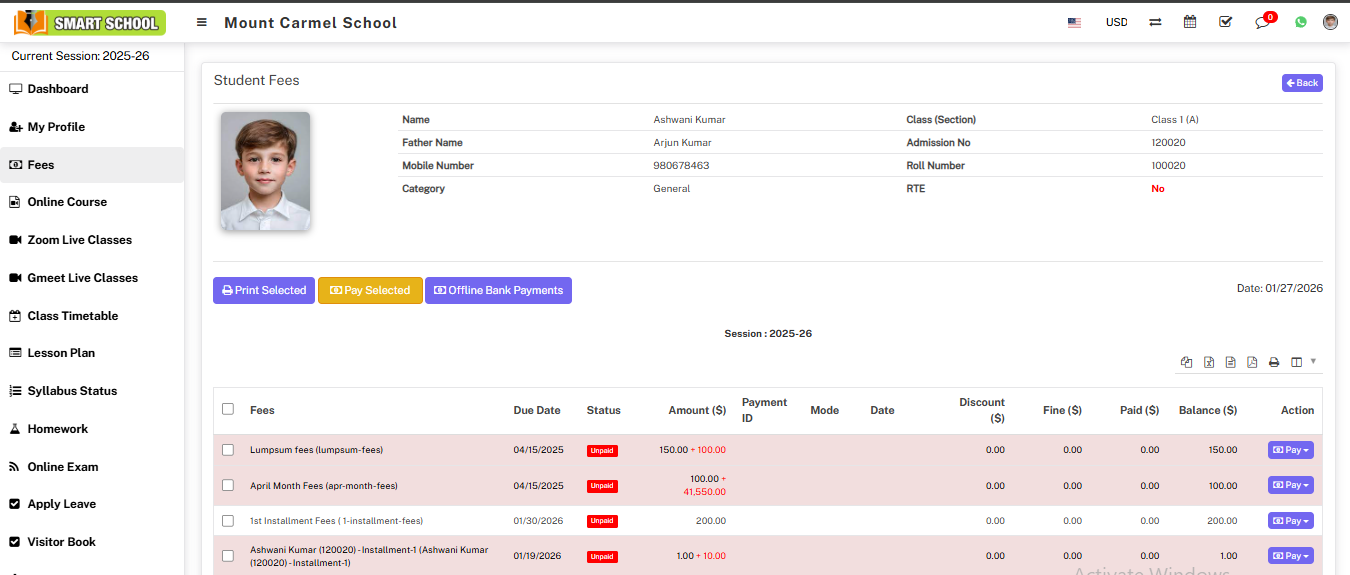
When "Lock Student Panel If Fees Remain" is enabled, Fees Payment Grace Period Days tab will be appear in below, here fill the grace period for fees payment. 
If you do not submit the fees during the grace period, the student or parent's profile will be disabled once the grace period is over. Only the fees page will be accessible when the student panel is opened.
Print Fees Receipt For
In the 'Print Fees Receipt' section, you can find options to print the Office Copy, Student Copy, and Bank Copy. Using these options, you can manage the printing of fees receipts based on the permissions granted by the superadmin.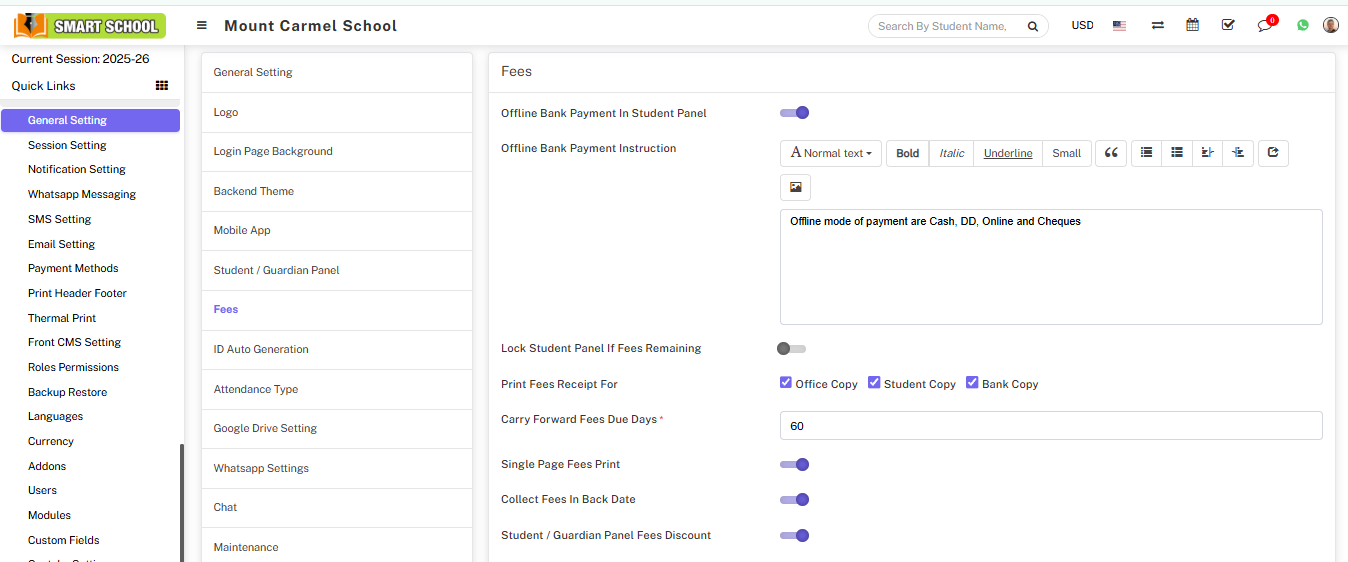
When you select only the checkbox for 'Office Copy', leaving the others unchecked, you will only get a print of the Office Copy.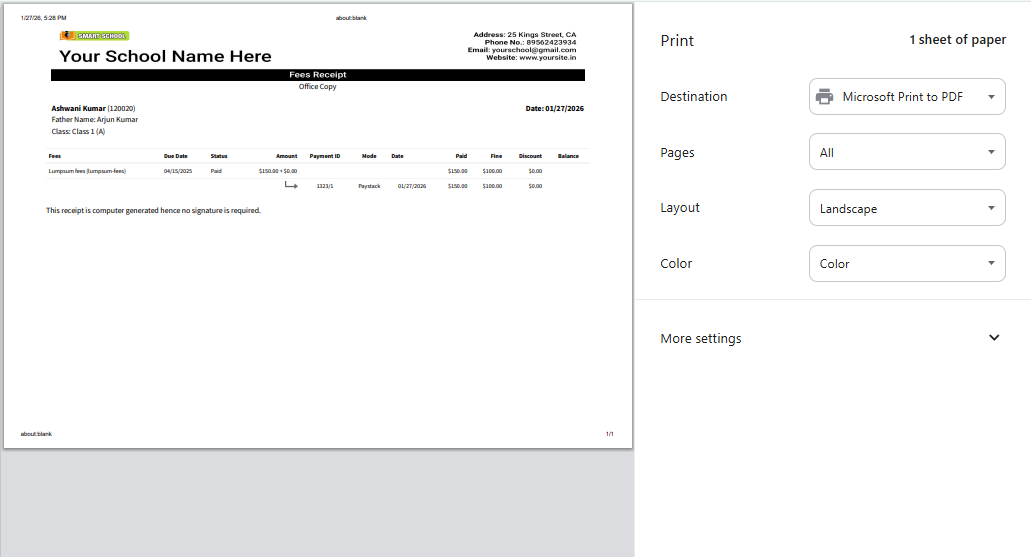
When you select the checkboxes for both 'Office Copy' and 'Student Copy', you will get a print of both the Office Copy and Student Copy.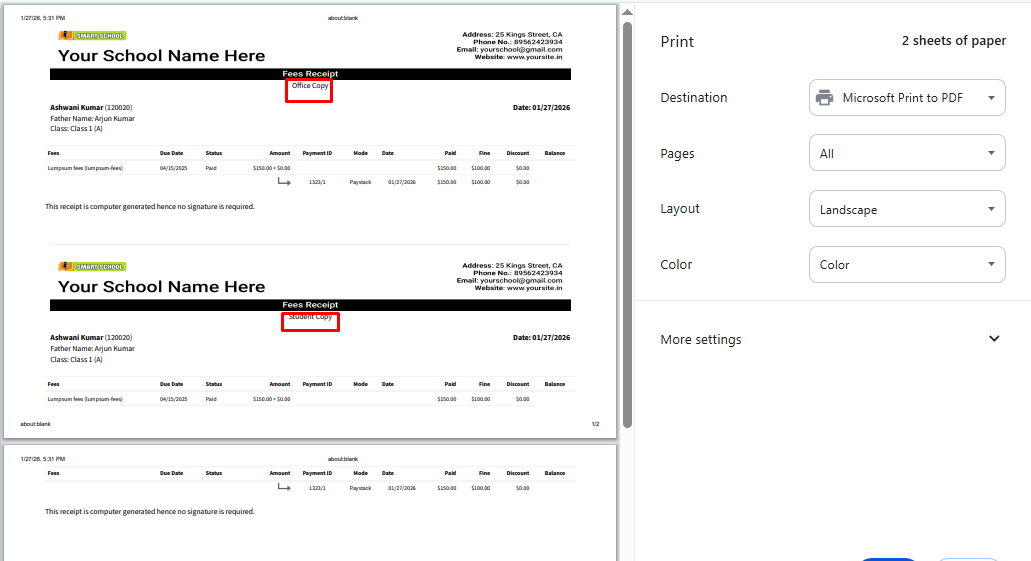
Finally, when you select all three checkboxes for 'Office Copy', 'Student Copy', and 'Bank Copy', you will get prints of all three copies.
Carry Forward Fees Due Days
To set Carry Forward Fees Due Days, the number of days which you enter here due date will be exceed from current date. Simply fill the days in box and click on the save button.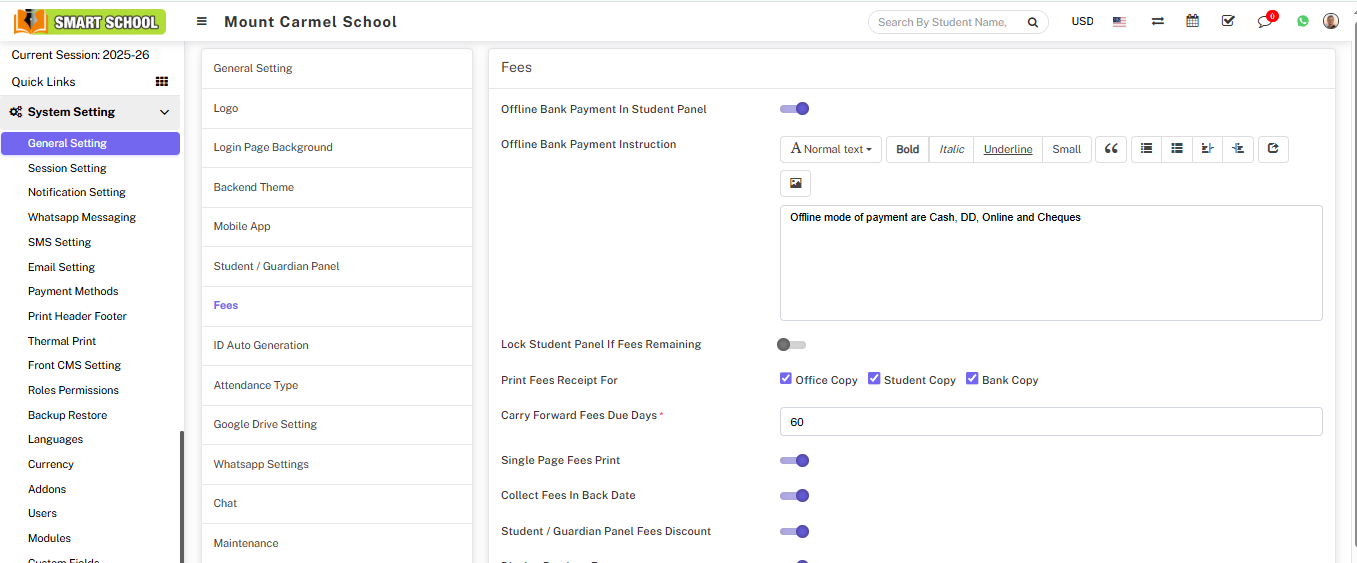
Single Page Fees Print
When you keep single-page fees printing disabled, you will get separate print receipts for office copy, student copy, and bank copy.
If you keep single-page printing enabled, you will get a single-page print of office copy, student copy, and bank copy.

Note: Whether you manage the single page fees to print disabled or enabled, you must select from print fees receipt for at least one of the following options: office copy, student copy or bank copy. 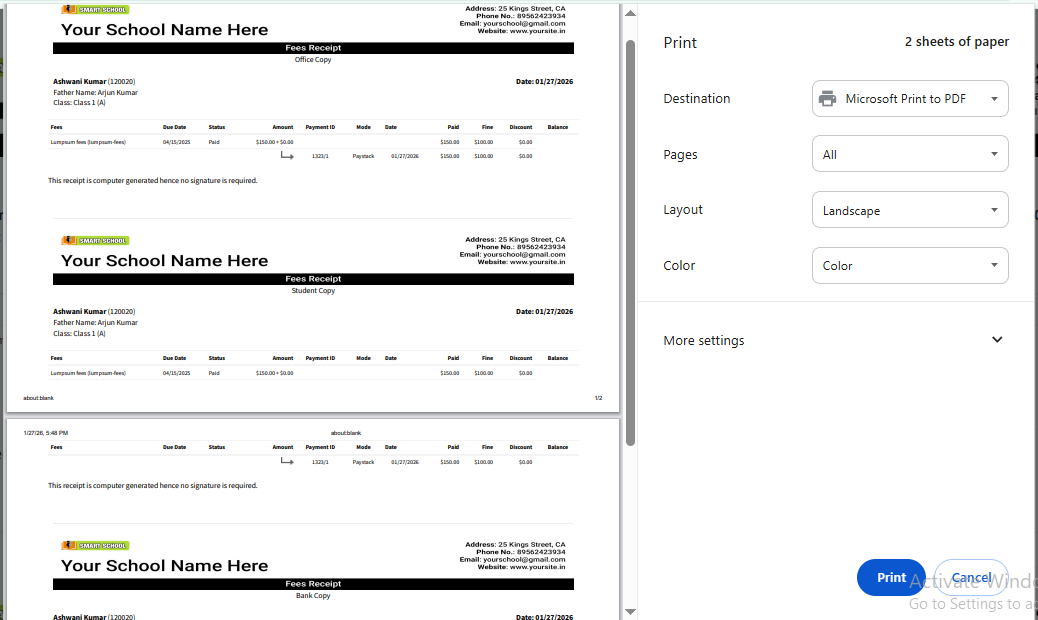
Collect Fees In Back Date
In Collect Fees In Back Date, now click on Disabled or Enabled to manage the fees collection of back date and click on Save button.
You will be unable to collect students' back date fees if you keep the option to collect fees for back dates disabled. 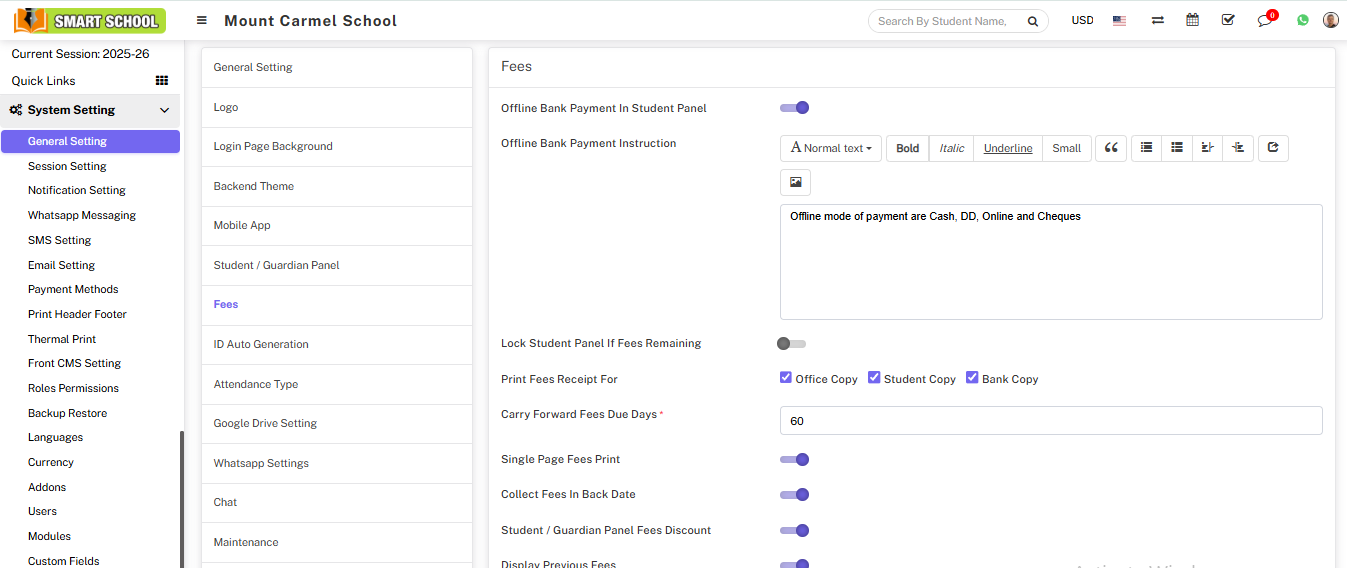
To check, go to Fees Collection > Collect Fees; here, choose Class, Section, or Search By Keyword, then click the Search button, the student list will appear. Now select the student for whom you want to collect fees for back dates and click on "Collect Fees." Now, click on the Add Fees + icon; the collect fees model will open, now, click on the date section; the calendar will open; you can see that the back dates are disabled in this calendar. 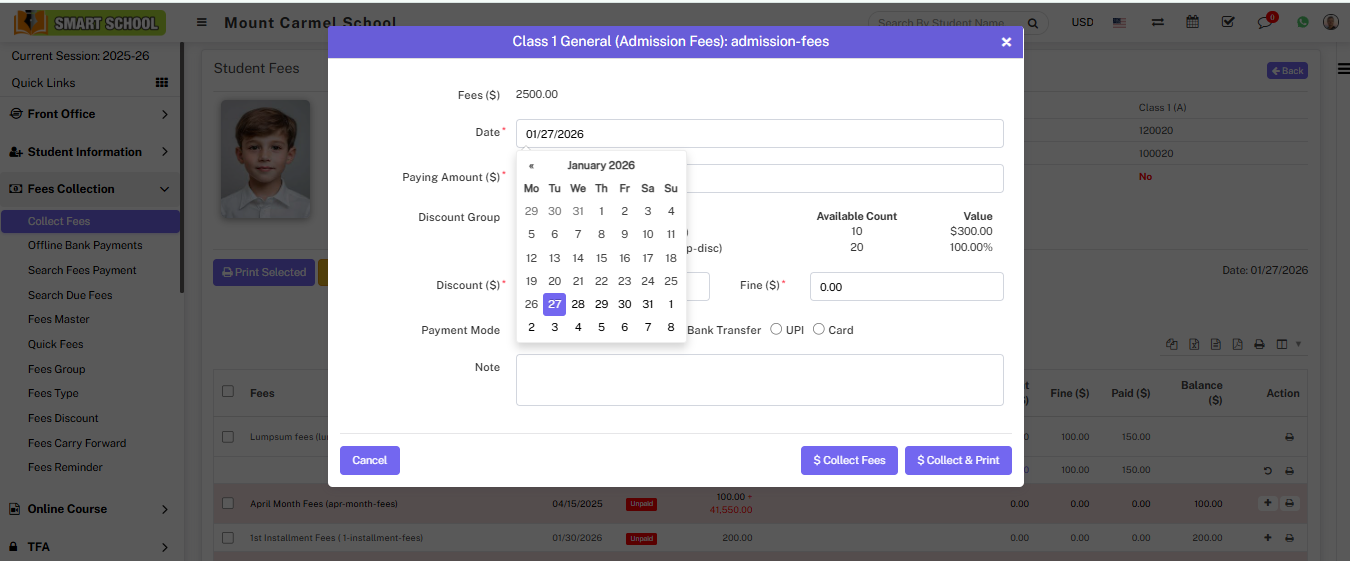
You will be able to collect students' back date fees if you keep the option to collect fees for back dates enabled. 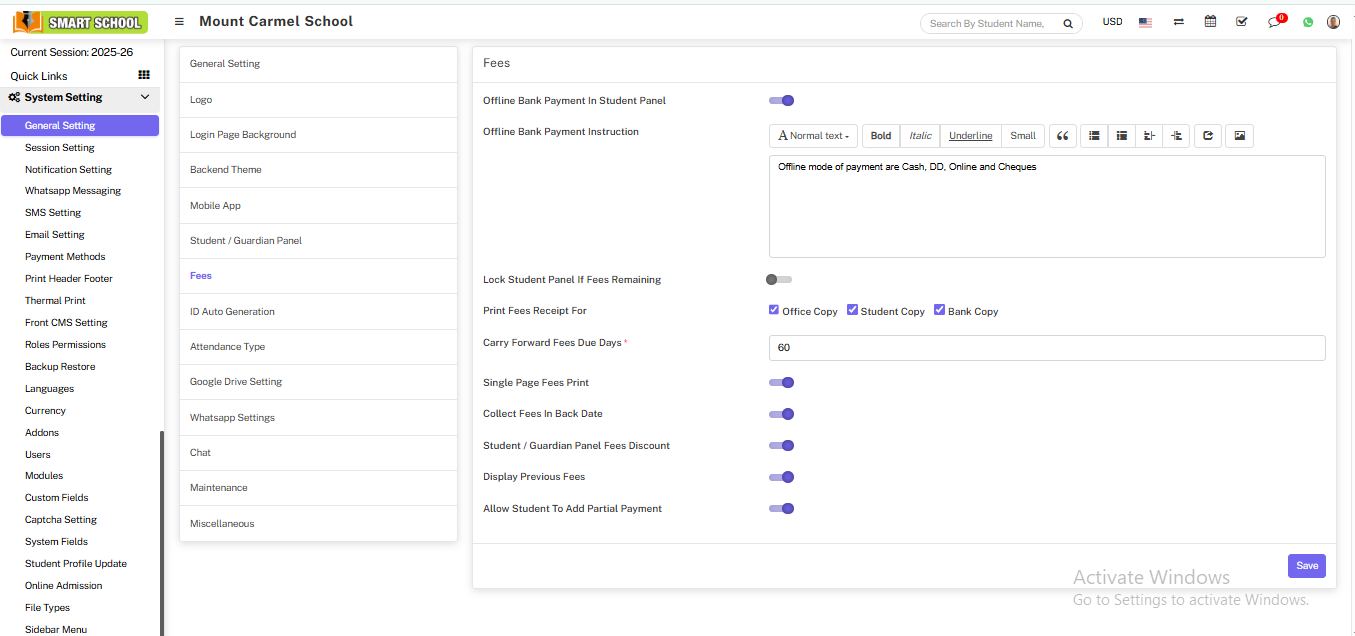
To check, go to Fees Collection > Collect Fees; here, choose class, section, or search by keyword; then click the Search button; the student list will appear. Now select the student for whom you want to collect fees for back dates and click on "Collect Fees." Click on the Add Fees + icon to open the Collect Fees model; now, click on the date section to open the calendar, you can see that the back dates are enabled in this calendar and with the help of this you can collect the student back date fees.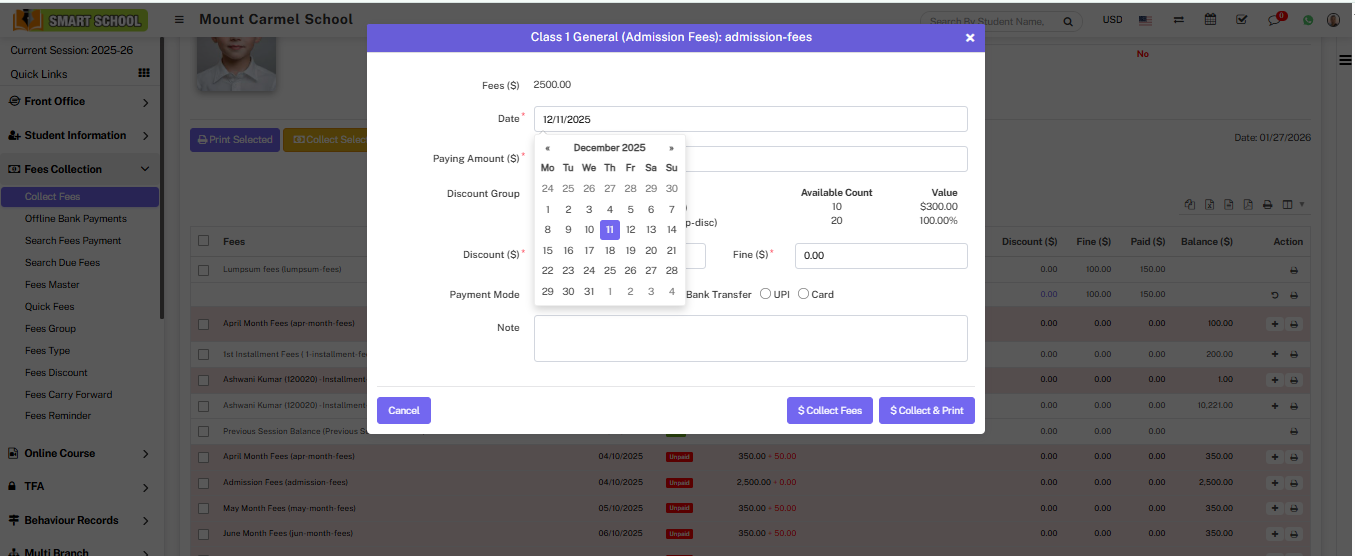
Student / Guardian Panel Fees Discount
Using this setting, you can enable the fee discount on the student side as well. When a student or guardian pays the fees through their panel, the discount applied by the superadmin will also be displayed on that fees. 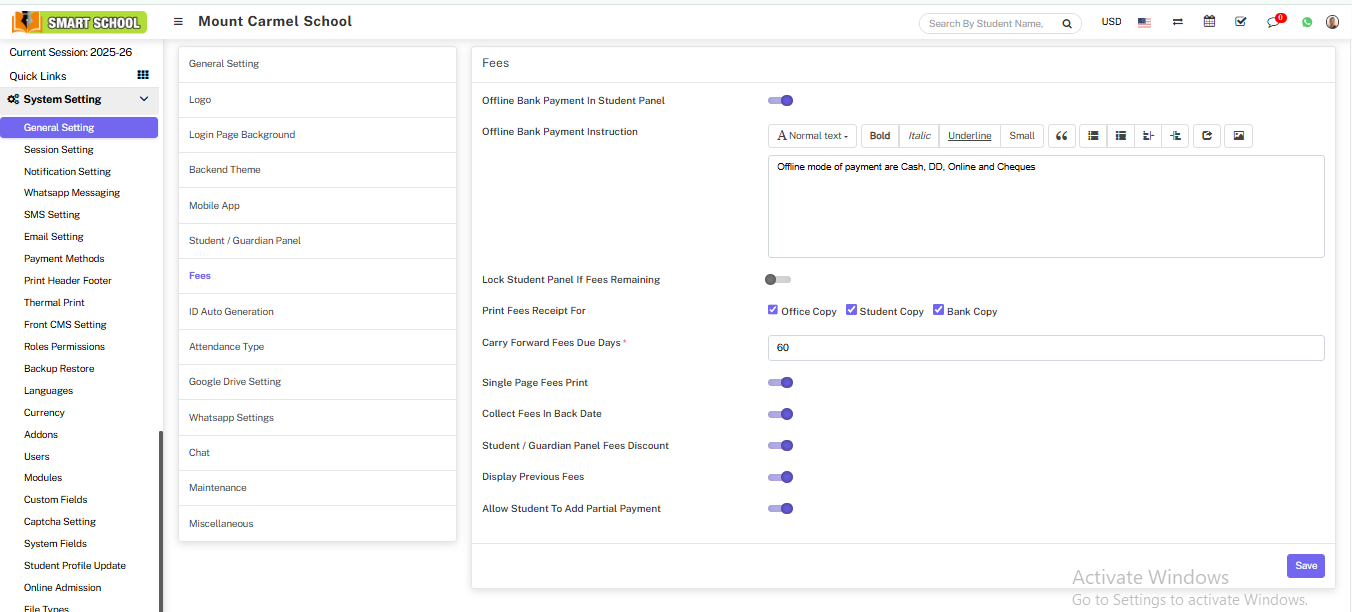
Then, go to the student panel where you have already applied the discount. When you pay the fees online, all details, including the discount, will be displayed. Click on the 'Pay' button, and the fees will be paid with the discount applied, if applicable.