To assign a vehicle, go to Transport > Assign Vehicle. Now click on Route so that multiple routes will be open in the drop-down menu, and select your preferred one. You can see the Vehicle option available in the below list, which is showing its vehicle number. Now choose the vehicle by checking the check box for the above selected route. You can also choose the multiple vehicles for the above selected single route by checking the multiple checkbox. Then click on the Save button so that we can see vehicle details in the vehicle route list.

You can now edit the vehicle route list by clicking on the Edit icon in the Action column, simply click on the Edit button, and the edit model will appear.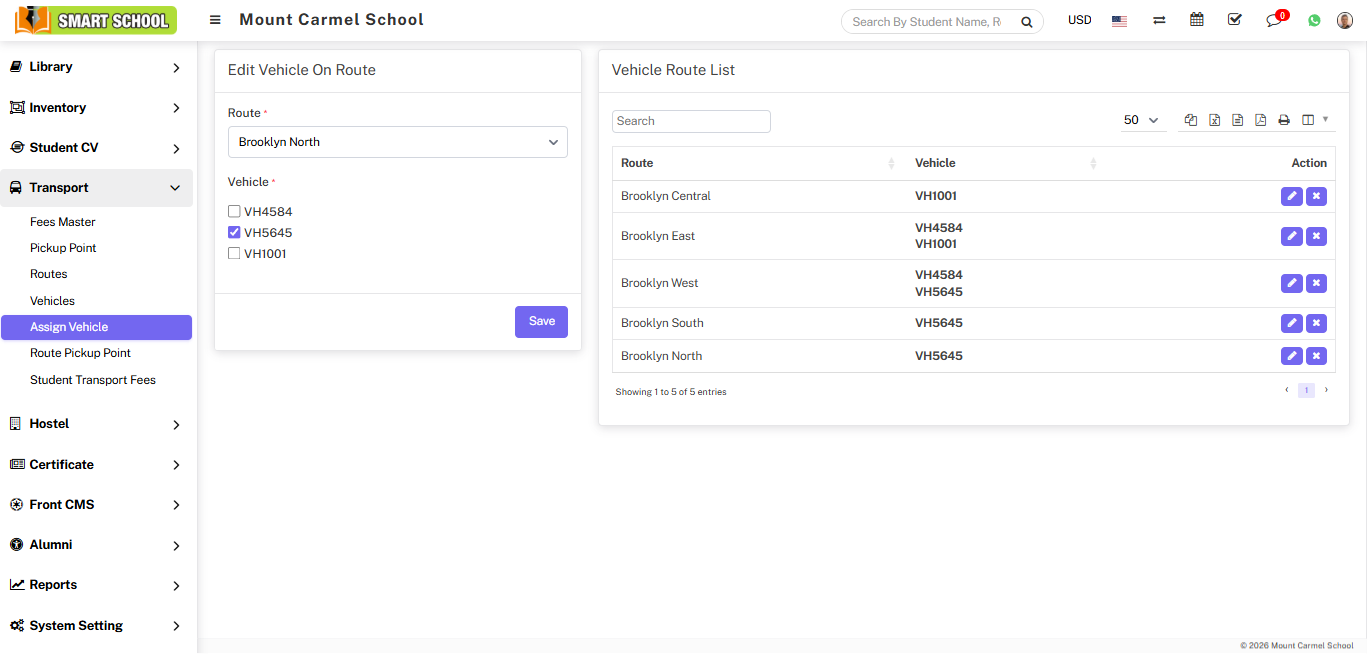
Now update the details and click on the Save button, and your details will be successfully updated.
To delete the vehicle route from the vehicle route list, just click on Delete icon showing at the Action column, delete confirmation model will be open.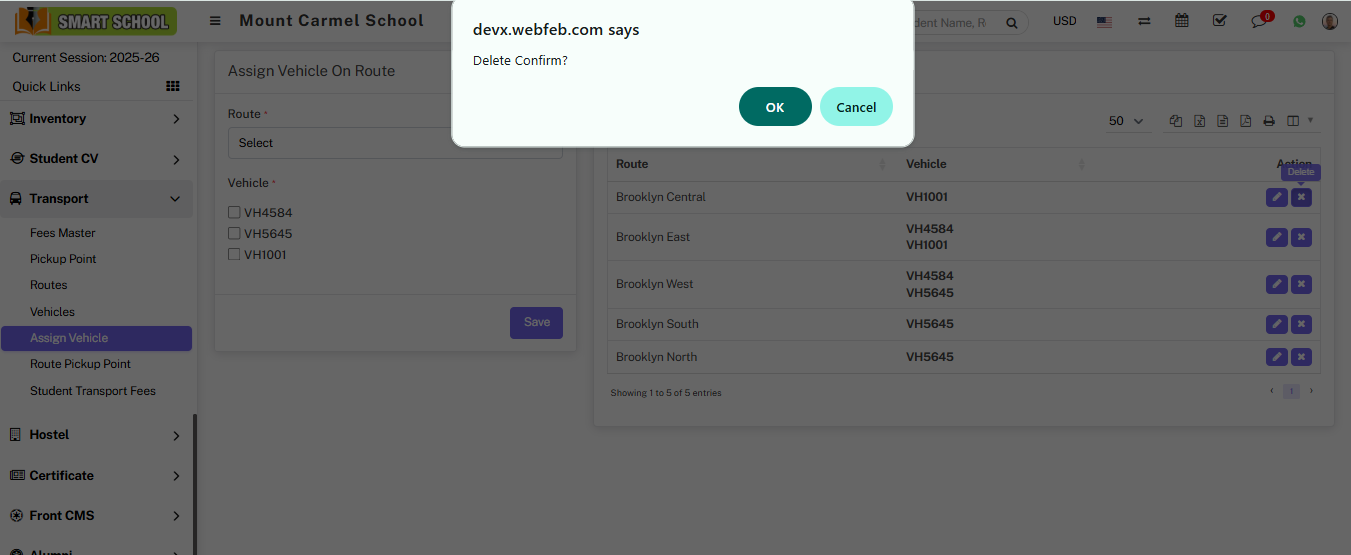
Now click on OK button, vehicle route will be deleted successfully from the vehicle route list.
