To add the Barcode to the student id card and his profile, go to System Settings > General Settings > Miscellaneous. Here, you will find the second option that displays the ID Card Scan Code.
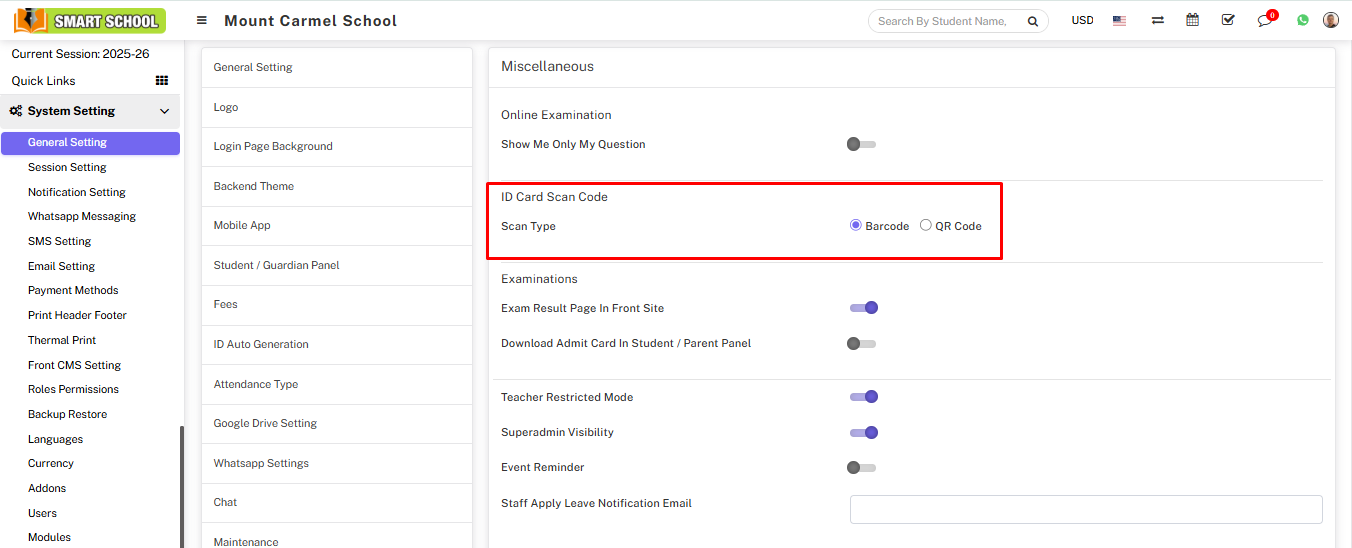
In the ID card scan code section, you will find two available options for scan type: the first is Barcode, and the second option is QR code. Simply enable the Barcode option by clicking on it, and then click on the Save button located at the bottom right to apply the changes.
Now, Go to the Certificate tab and select "Generate ID Card." Now select Class, Section, and ID Card Template, and click on the Search button.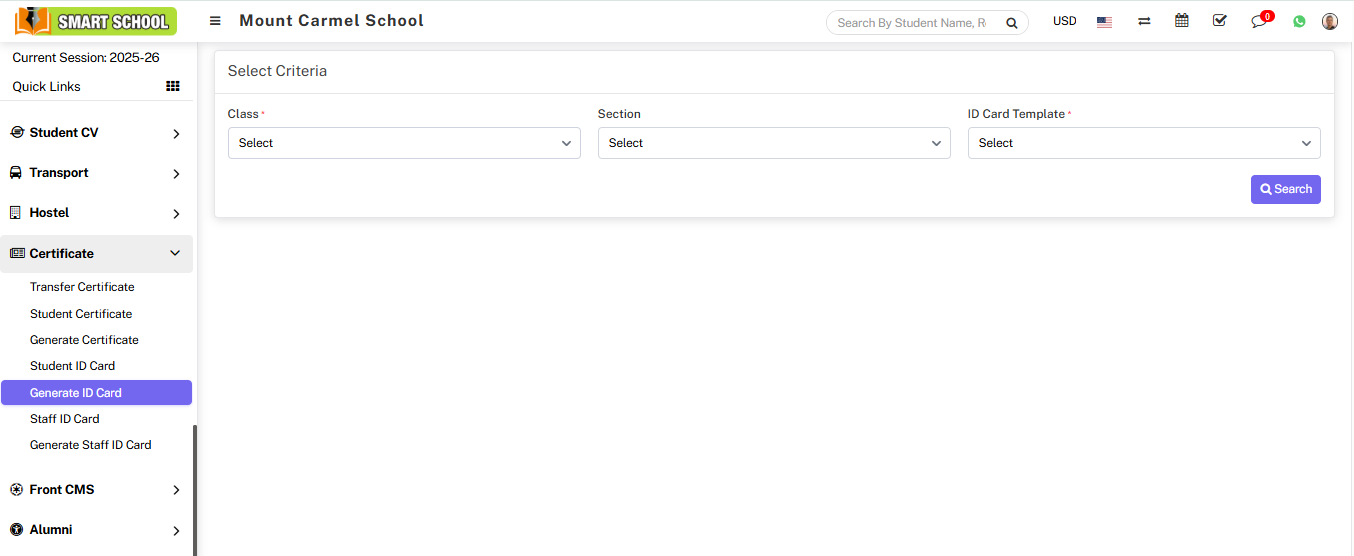
Student List will be open in below, now check the Checkbox next to the student name whom you want to generate the id card then Click on Generate button.
Student id card will be generated successfully and this student id card you can also see the barcode , which is showing in below.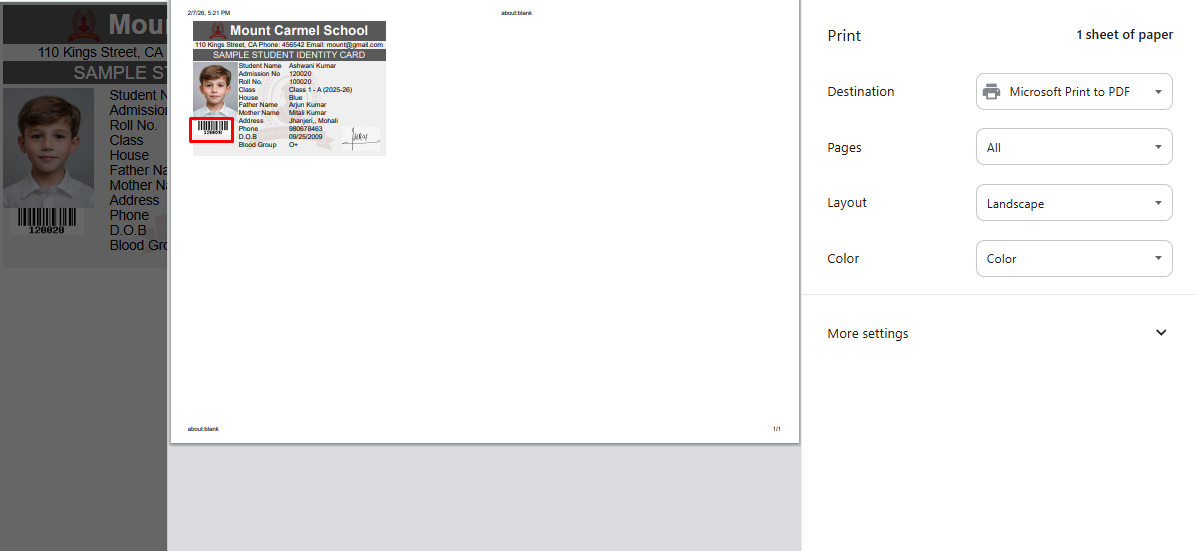
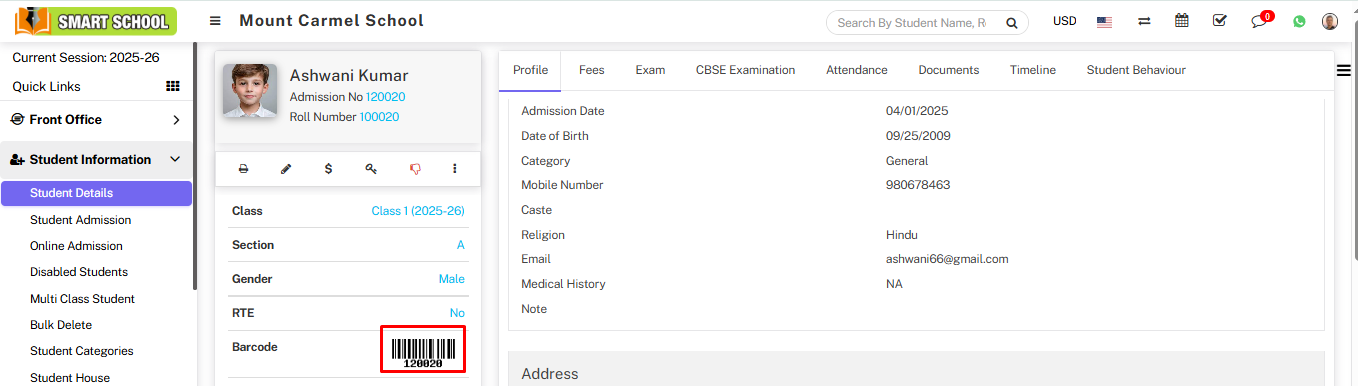
Now, to see barcode in student profile, you just need to go to the Student Information > student Details and Select Class, Section or search by keyword and click on search button.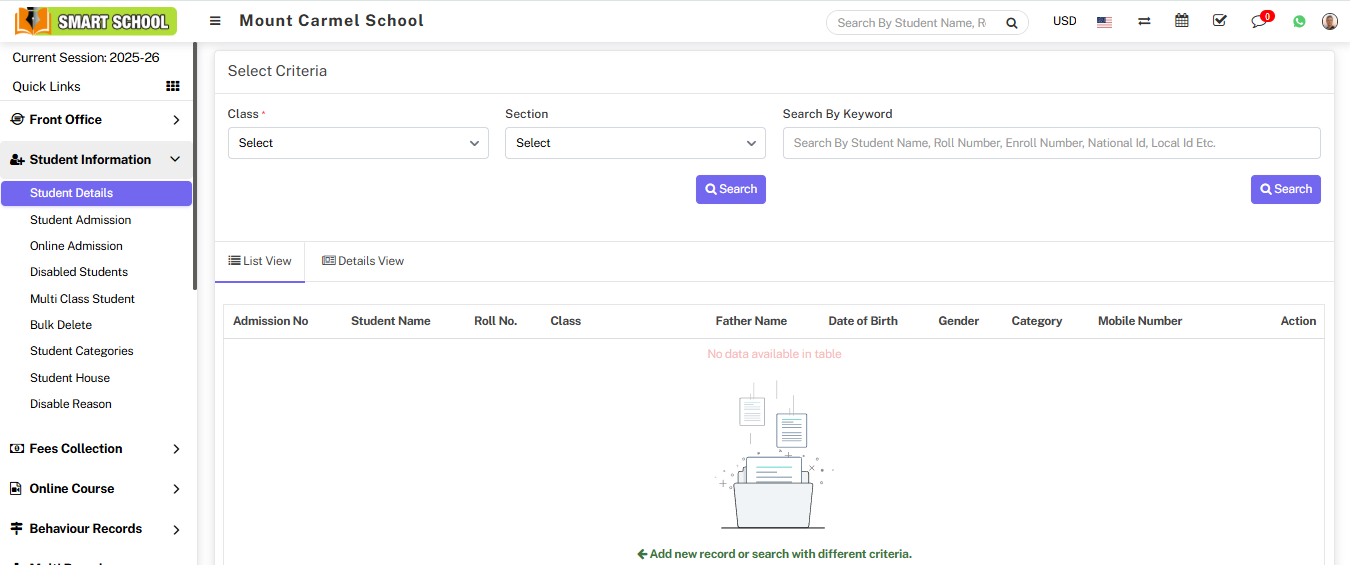
Student list will be open in below, now open the student profile, by click on view icon or student name.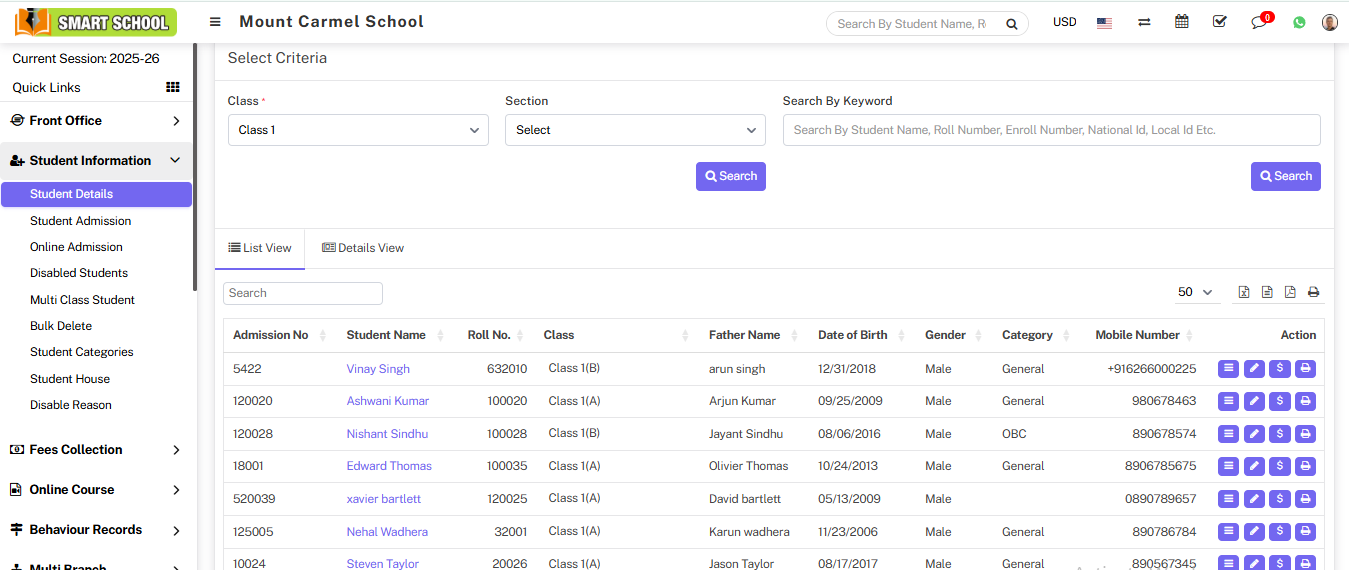
Here, you can see the Barcode generated in the student profile.