If you are using Smart School for a training Centre then may be you like to admit students in two classes, for this you should use multi class feature where you can admit a single student in two classes simultaneously.
Apart from above we also like to provide access to our Smart School to other users like Teachers, Accountants, Librarians, Students and their Parent. For these Smart School have 8 inbuilt user's roles- SuperAdmin, Admin, Teacher, Accountant, Librarian, Receptionist, Student and Parent. Virtually you can create unlimited number of user roles for staff members.
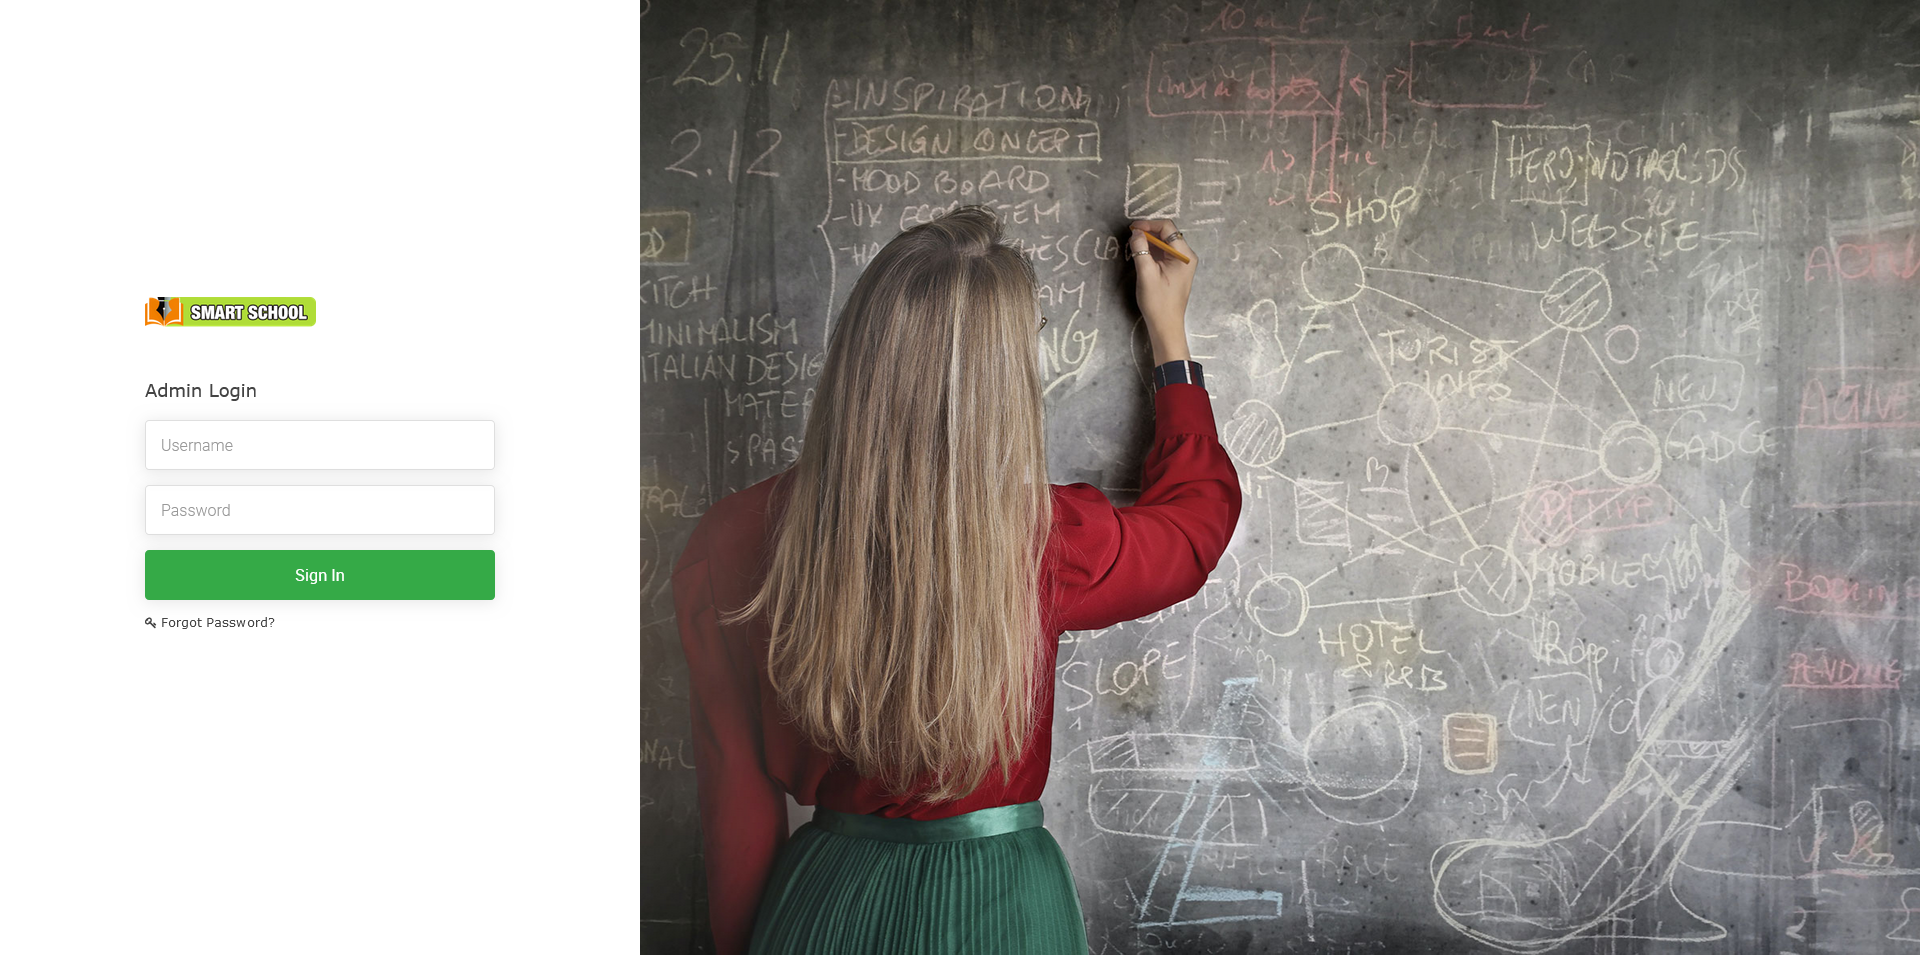
Admin Panel :- Login to Admin Panel through URL - http://yourdomain/site/login
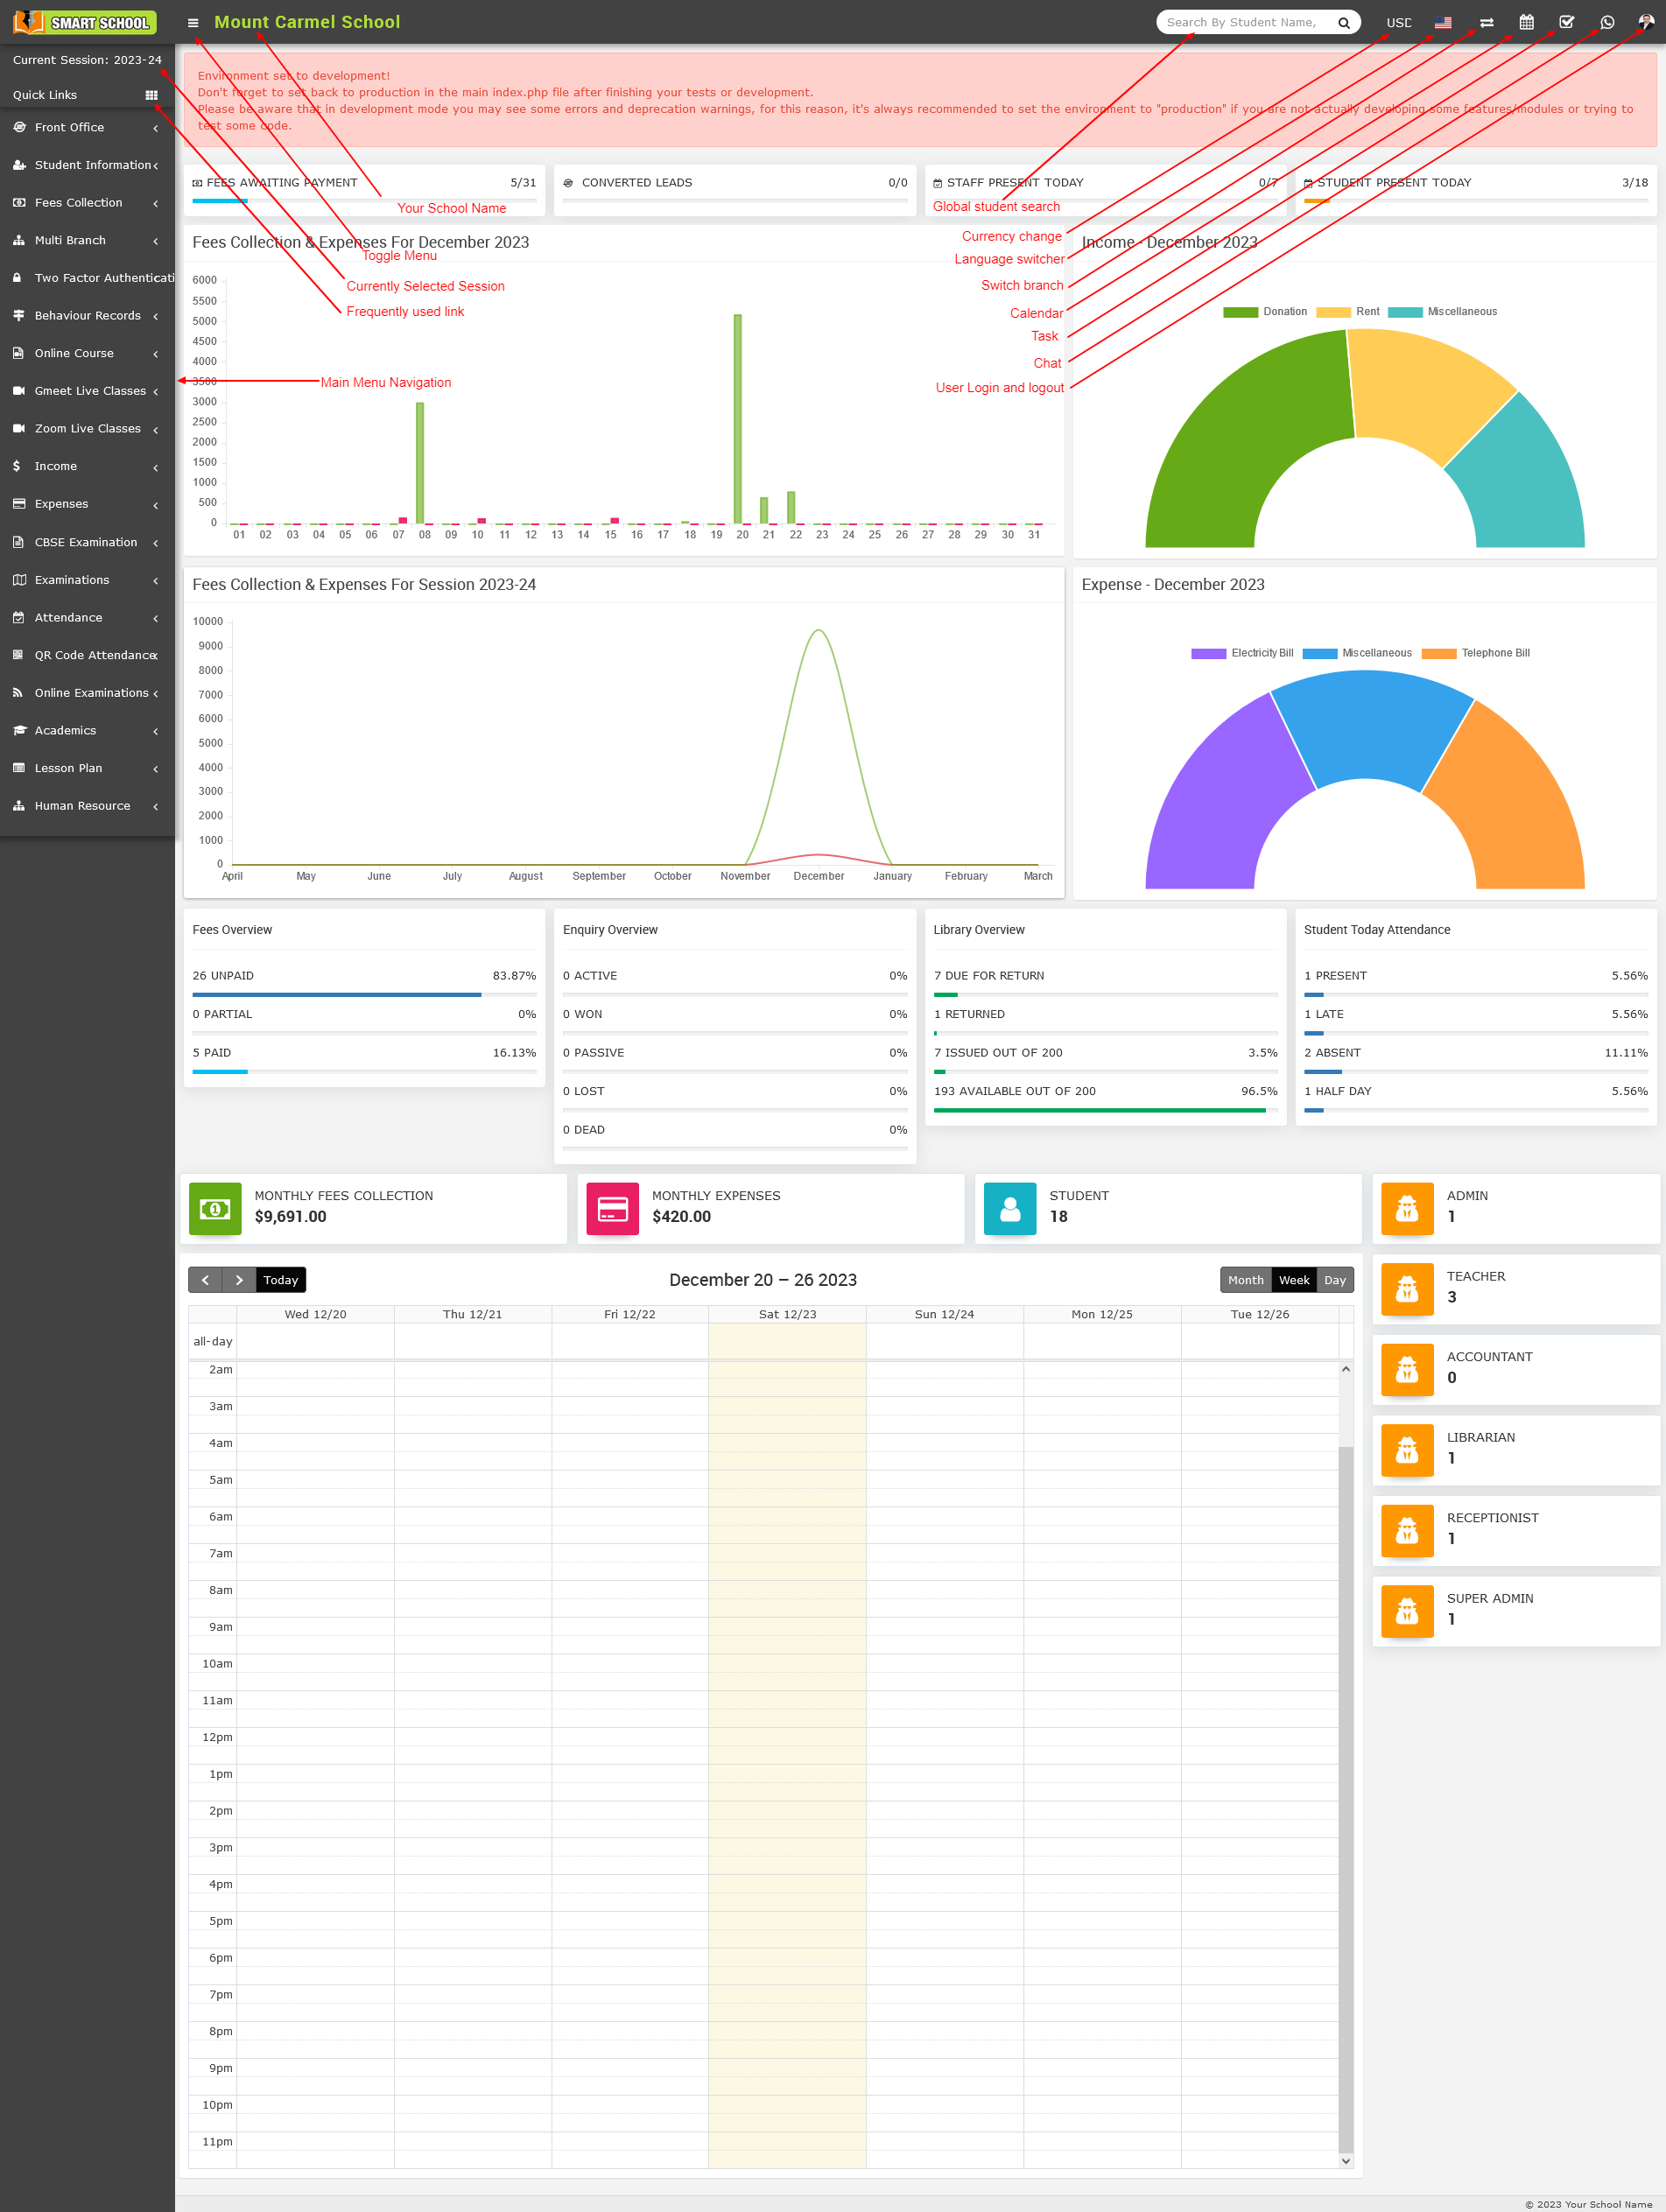
After successful login you will reach the Admin Dashboard. Below you can find navigational overview of the user screen.
Admin Panel consist 26 modules listed below -
1. Front Office - For all reception / front office related activities like enquiries, calls, visitors, postal receive/dispatch.
2. Student Information - For all the information related to student like student profile, student admission, student history.
3. Fees Collection - For all the details related to student fees collection, fees master creation, fees dues, fees reports
4. Income - For all the income other than fees collection can be manage here like add income, search income, income head
5. Expenses - For all the expenses related to school can be manage here like add expenses, search expenses, expense head
6. Attendance - For managing student attendance and attendance report
7. Examinations - For managing all the exams conducted by school like create exam, schedule exam, exam marks entry, marks grade
8. Online Examinations - For managing online exams conducted by school
9. Lesson Plan - For managing subject status and lesson plan
10. Academics - For managing all the parameters / master data required to run school like classes, sections, subjects, assign teachers, class timetable, promote student to upper class
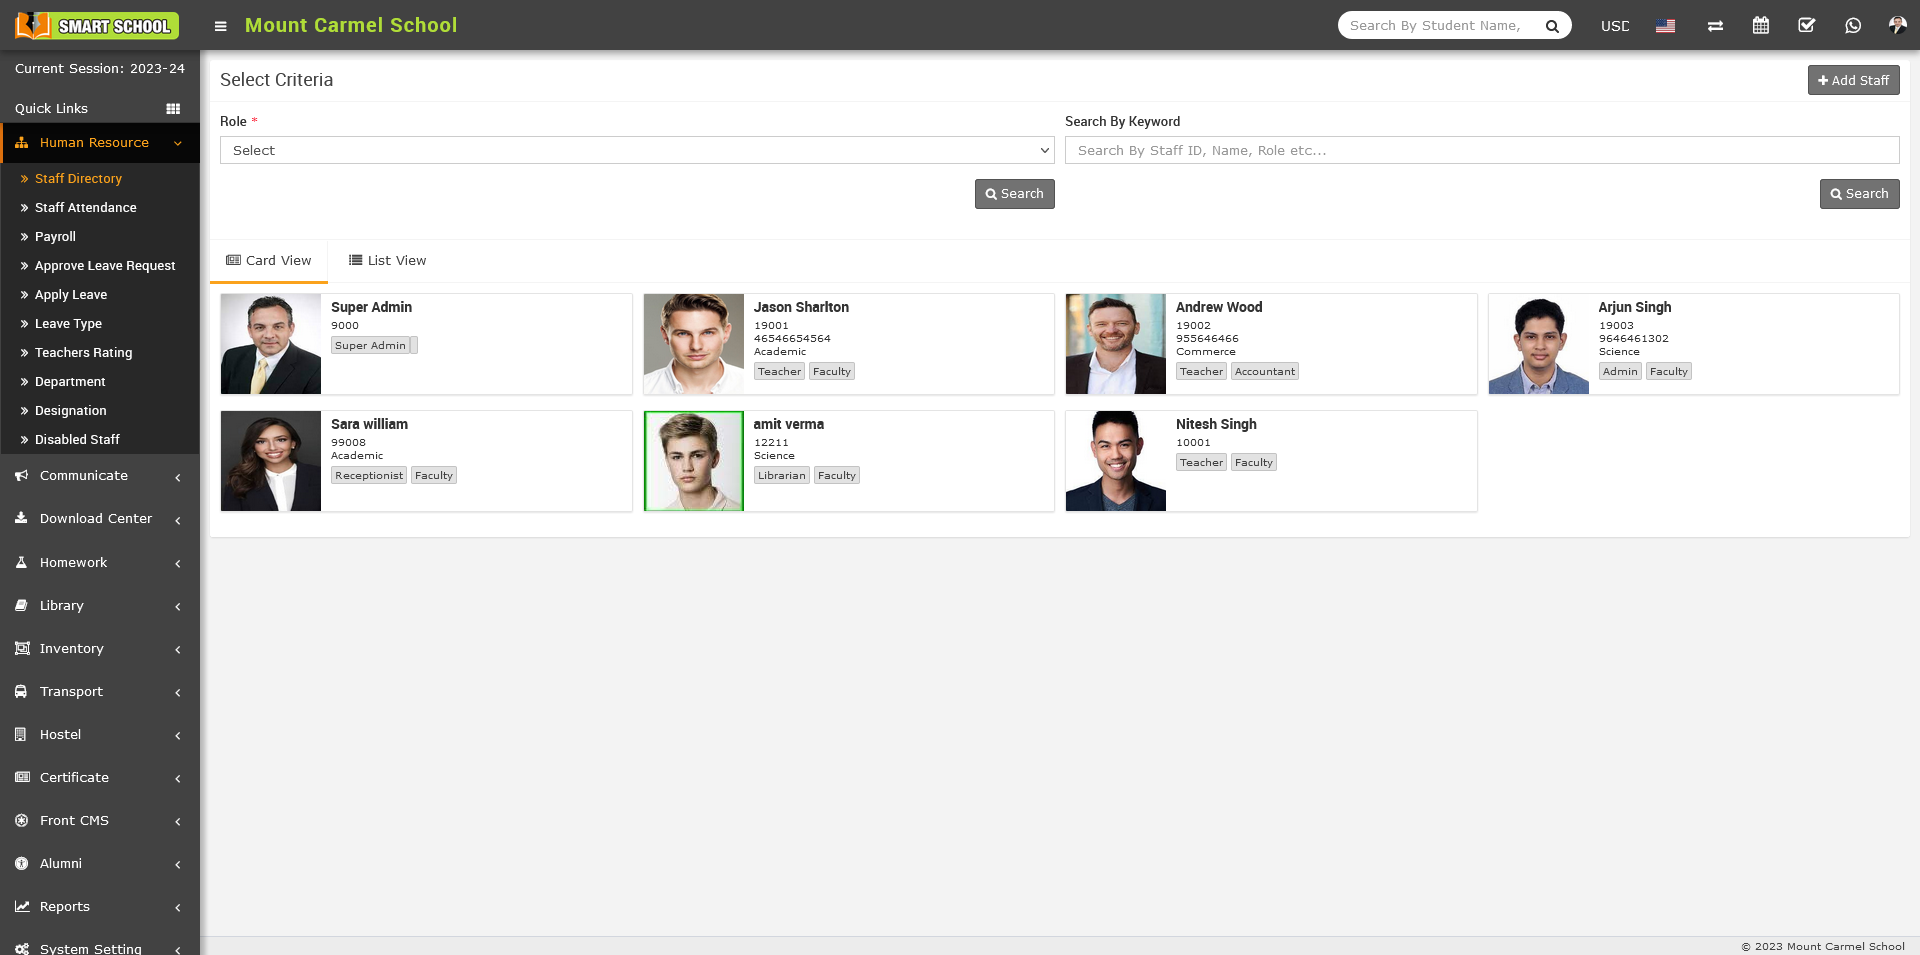
11. Human Resource - For all the information related to staff members can be manage here like staff search, profile, attendance, payroll, leaves
12. Communicate - It works like a notice board basically a messaging system for communication to students, parents and teachers
13. Download Center - For managing downloadable documents like assignments, study material, syllabus and other documents need to distribute students and teachers
14. Homework - Teachers can give homework here and further evaluate them
15. Library - All the books in your library can be manage here
16. Inventory - Manage all the assets of your school with stocks and store under inventory module
17. Transport - For managing transportation service like routes and their fares
18. Hostel - For managing hostels, hostel rooms and their fares
19. Certificate - Design and generate student certificate and ID card here
20. Front CMS - Manage front public site of Smart School here by creating pages, menus, events, gallery, news
21. Alumni - For managing all pass out students or alumni records and events
22. Reports - All the various reports related to different modules can be found here
23. System Settings - Configure Smart School here for different settings like school, sessions, SMS, Payment, backup / restore, languages
24. Calendar & To Do List - Track and manage all daily/monthly activities and create your task in to do list
25. Chat - Chat for two way messaging staff and students
26. One Click Updater - To install new in system
Additionally in Admin Panel 8 Addon modules listed below (The Addon extension should be purchased separately).
- Zoom Live Classes - Zoom live classes for students and live meetings for staff
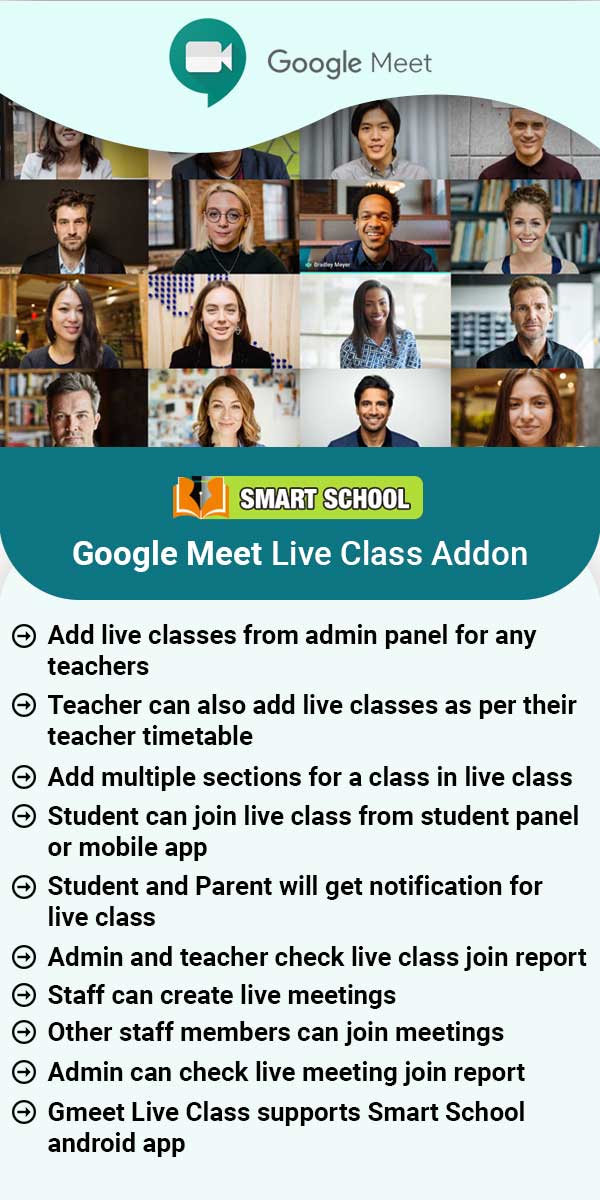
- Gmeet Live Classes - Gmeet live classes for students and live meetings for staff
- Multi Branch - By multi branch, you can manage your smart school multiple branch in one login
- Two Factor Authentication – You can secure the smart school login using two factor authentication
- Behaviour Records – Using behaviour records, you can record the student’s unique mannerisms, ways of speech, habits and more
- CBSE Examination – Different pattern on examination for smart school.
- Online Course – Online course for students and staff as well as for the guest
- QR Code Attendance – QR Code attendance for students and staff
To understand how Smart School works first we need to configure and setup it for our school. In this whole documentation we will consider our sample school which is Mount Carmel School.
Steps to setup your school -
1. In the Admin panel go to System Setting > General Setting.
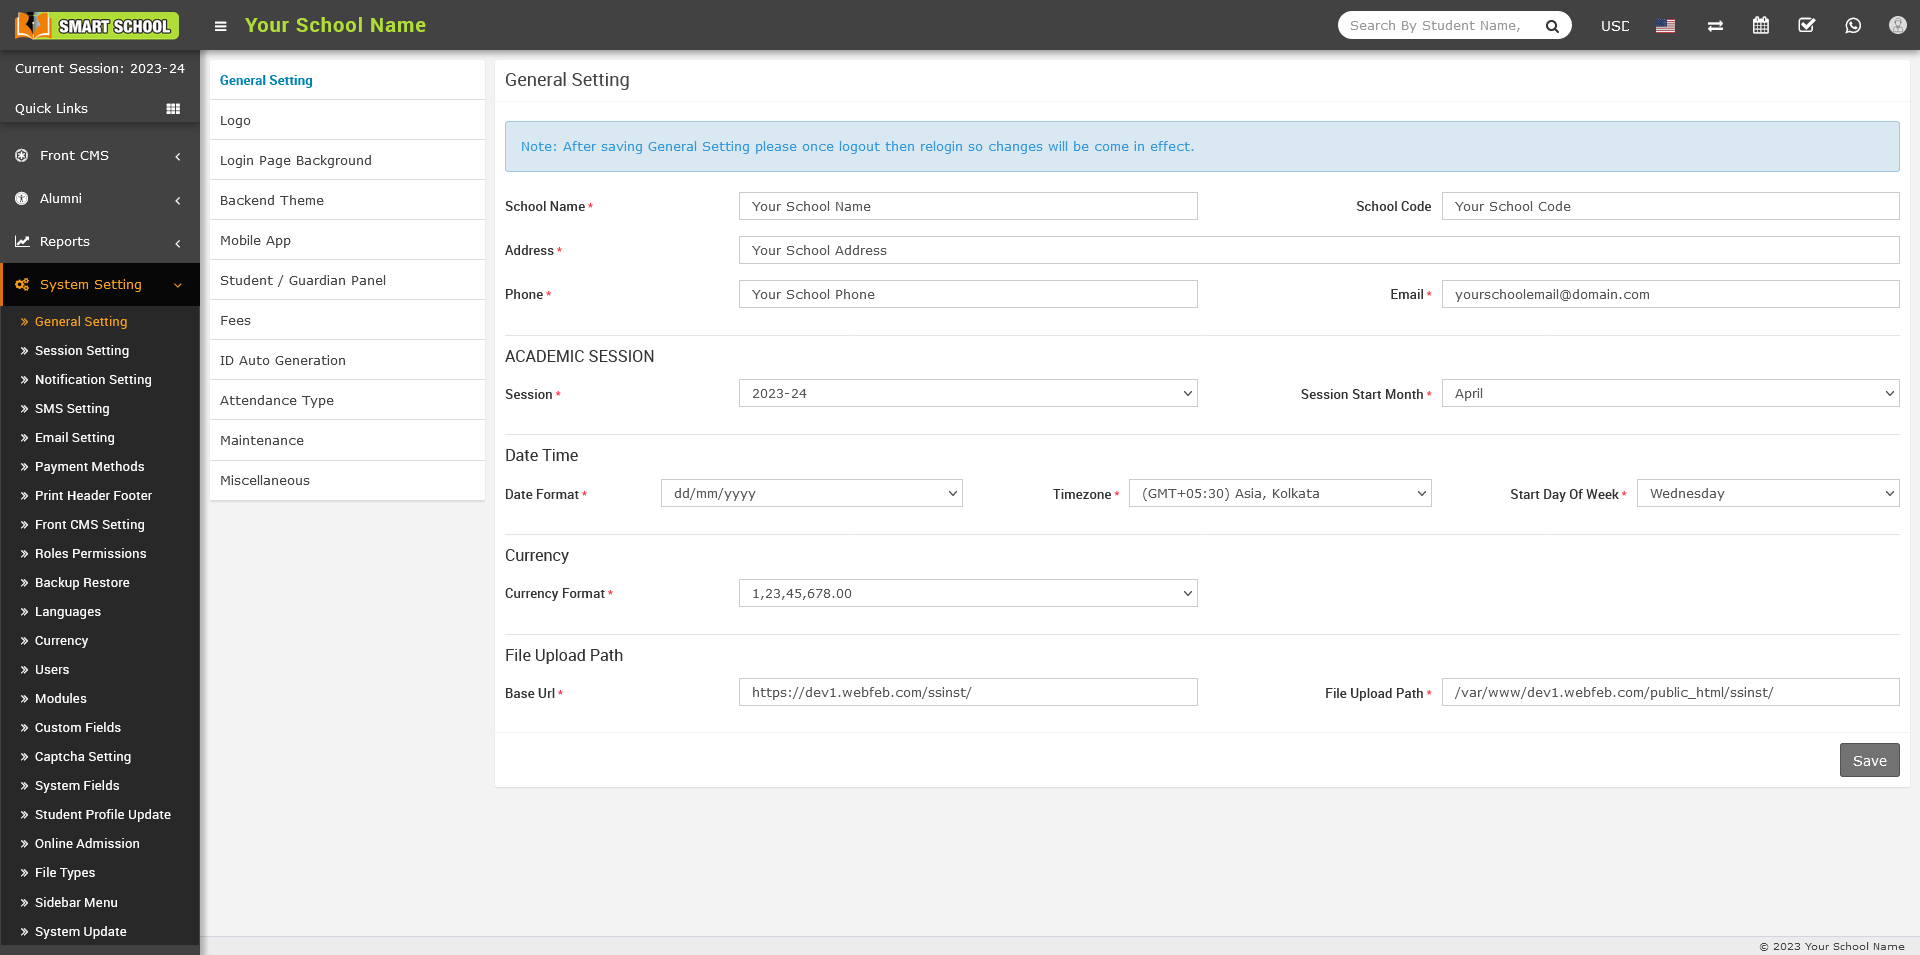
2. Update your School Name, School Code (School Code is your school affiliation / accreditation no), Address, Phone, Email (for remaining settings please check System Settings section) now click on Save button to update record.
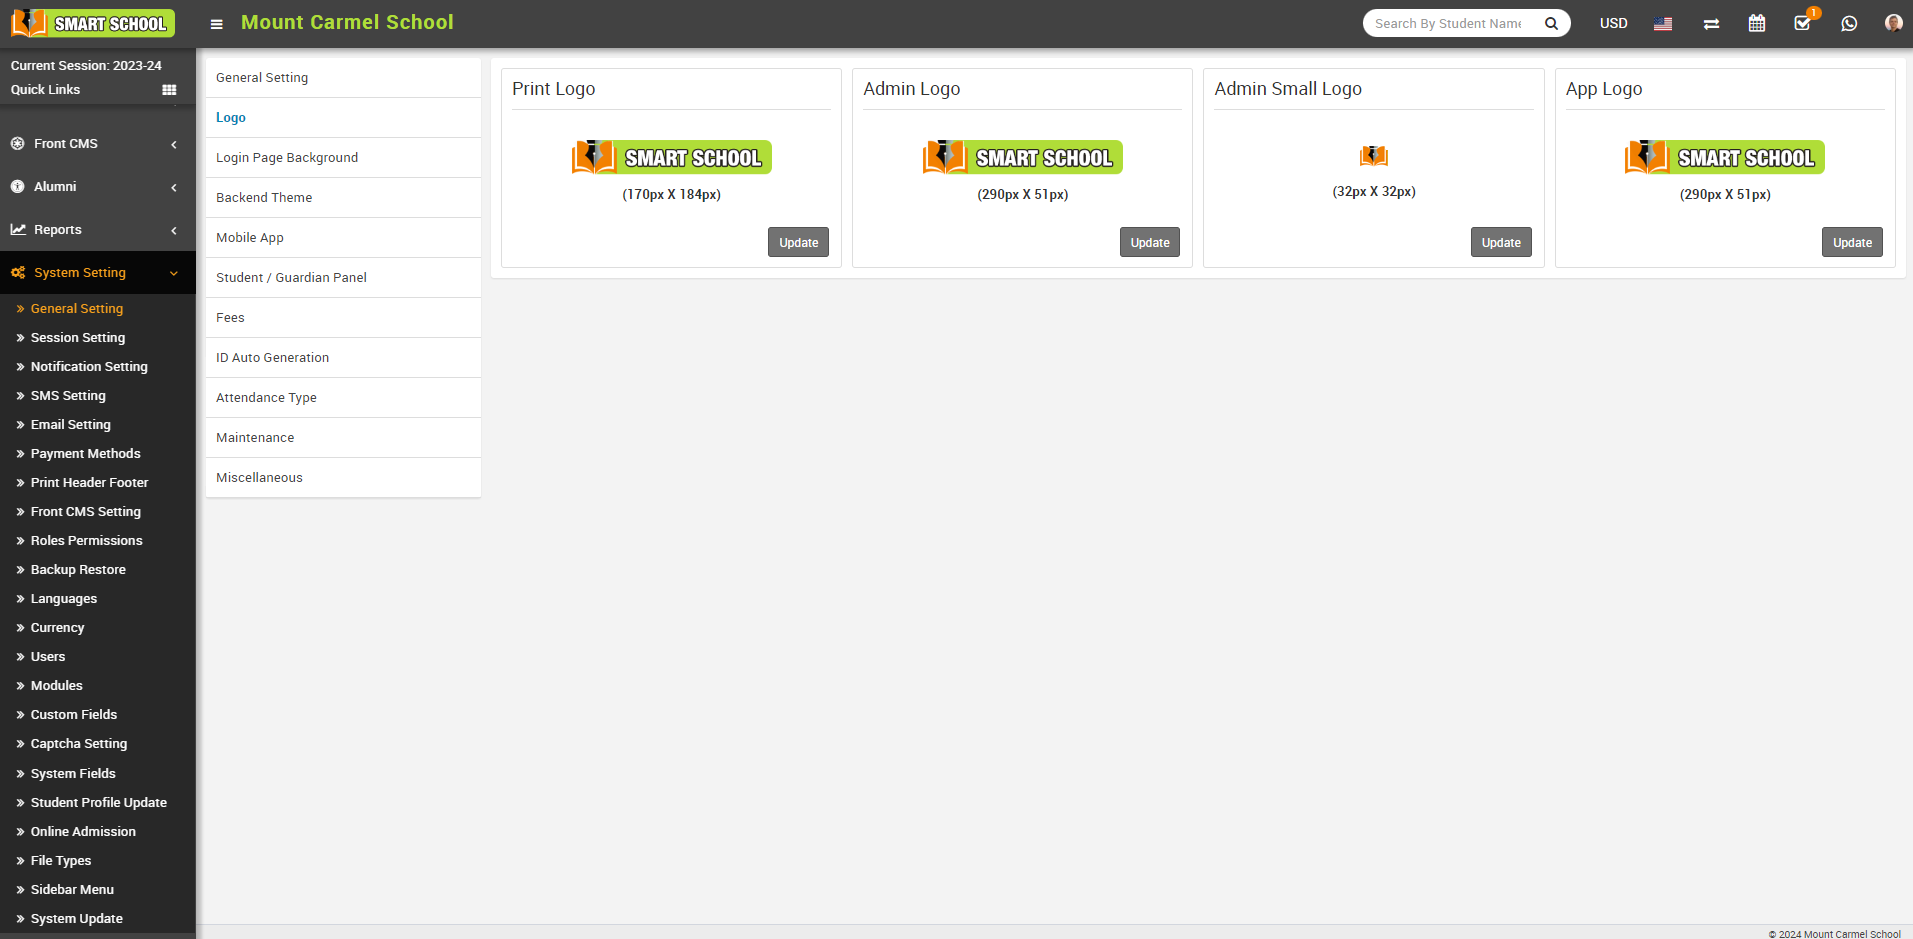
3. For updating your school print logo go to System Setting > General Setting in lower left side click on Edit Print Logo button (it is recommended for logo to use .png image with transparent or white background and around 200px x 200px in size). Now drag and drop or select your logo file. By clicking on Edit Admin Logo and Edit Admin Small Logo you can set logo for admin panel. Edit App Logo to set logo for mobile app.
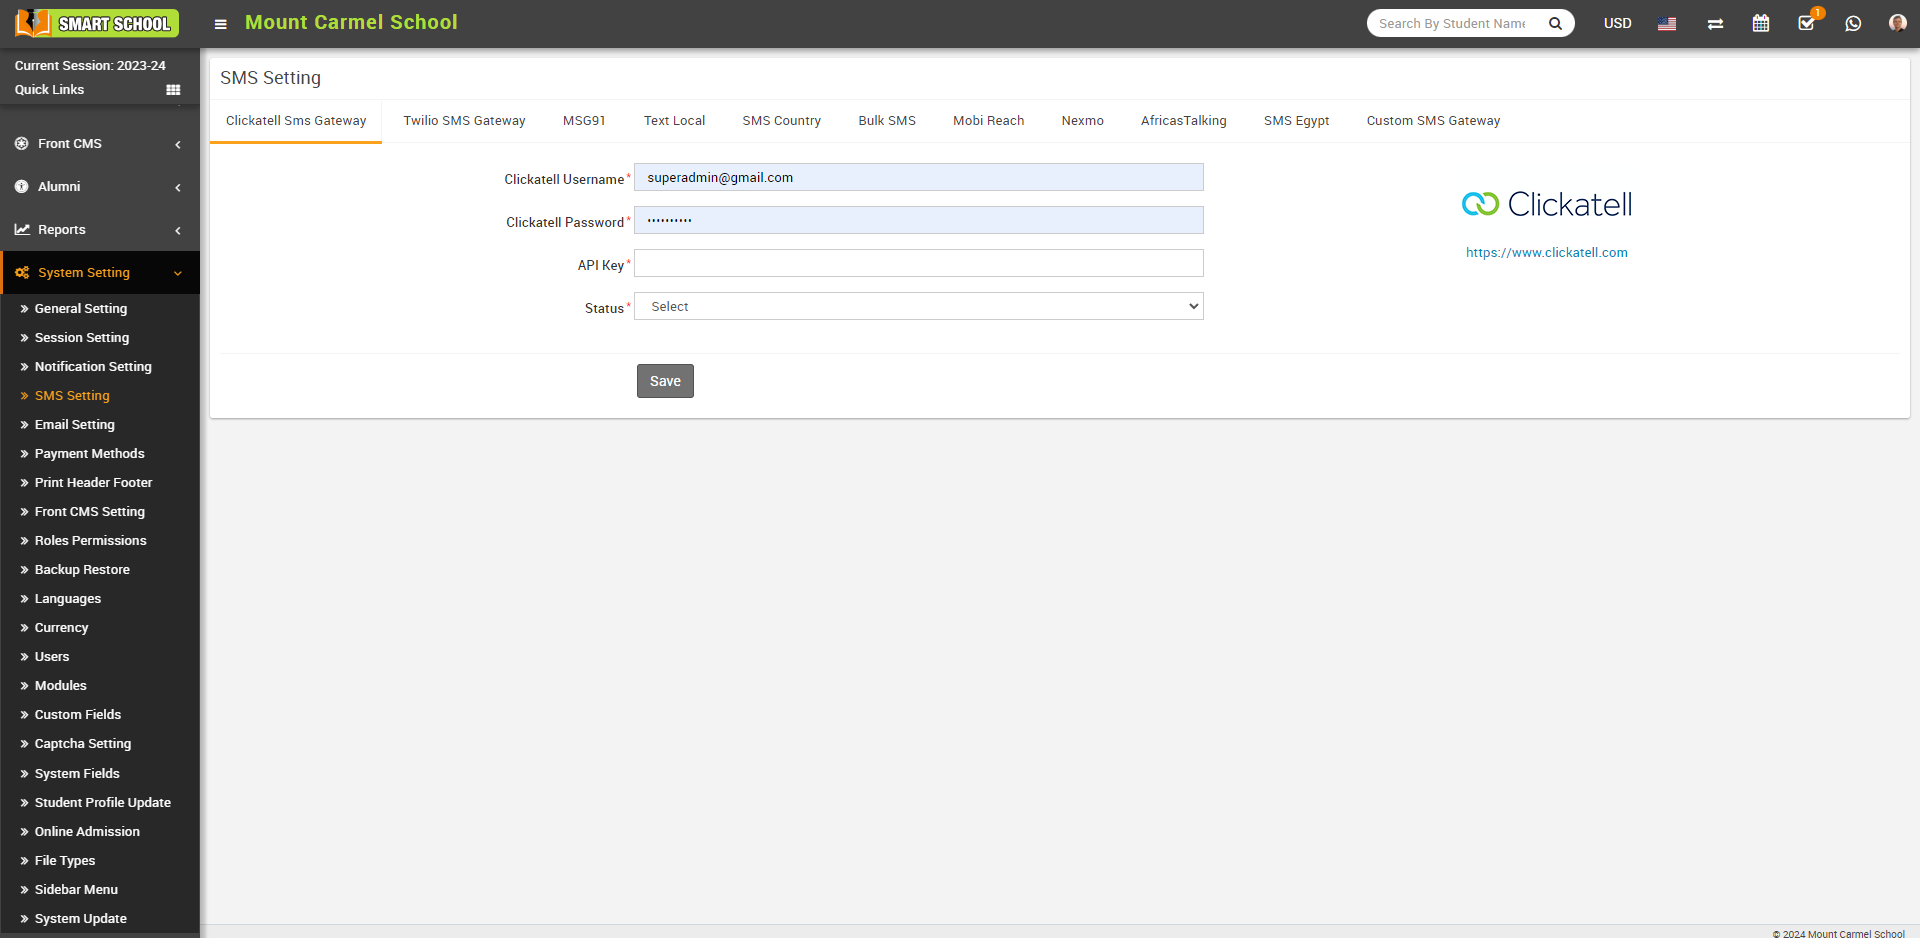
4. For automated SMS messaging add any one of available SMS Gateway with the required details from System Setting > SMS Setting.
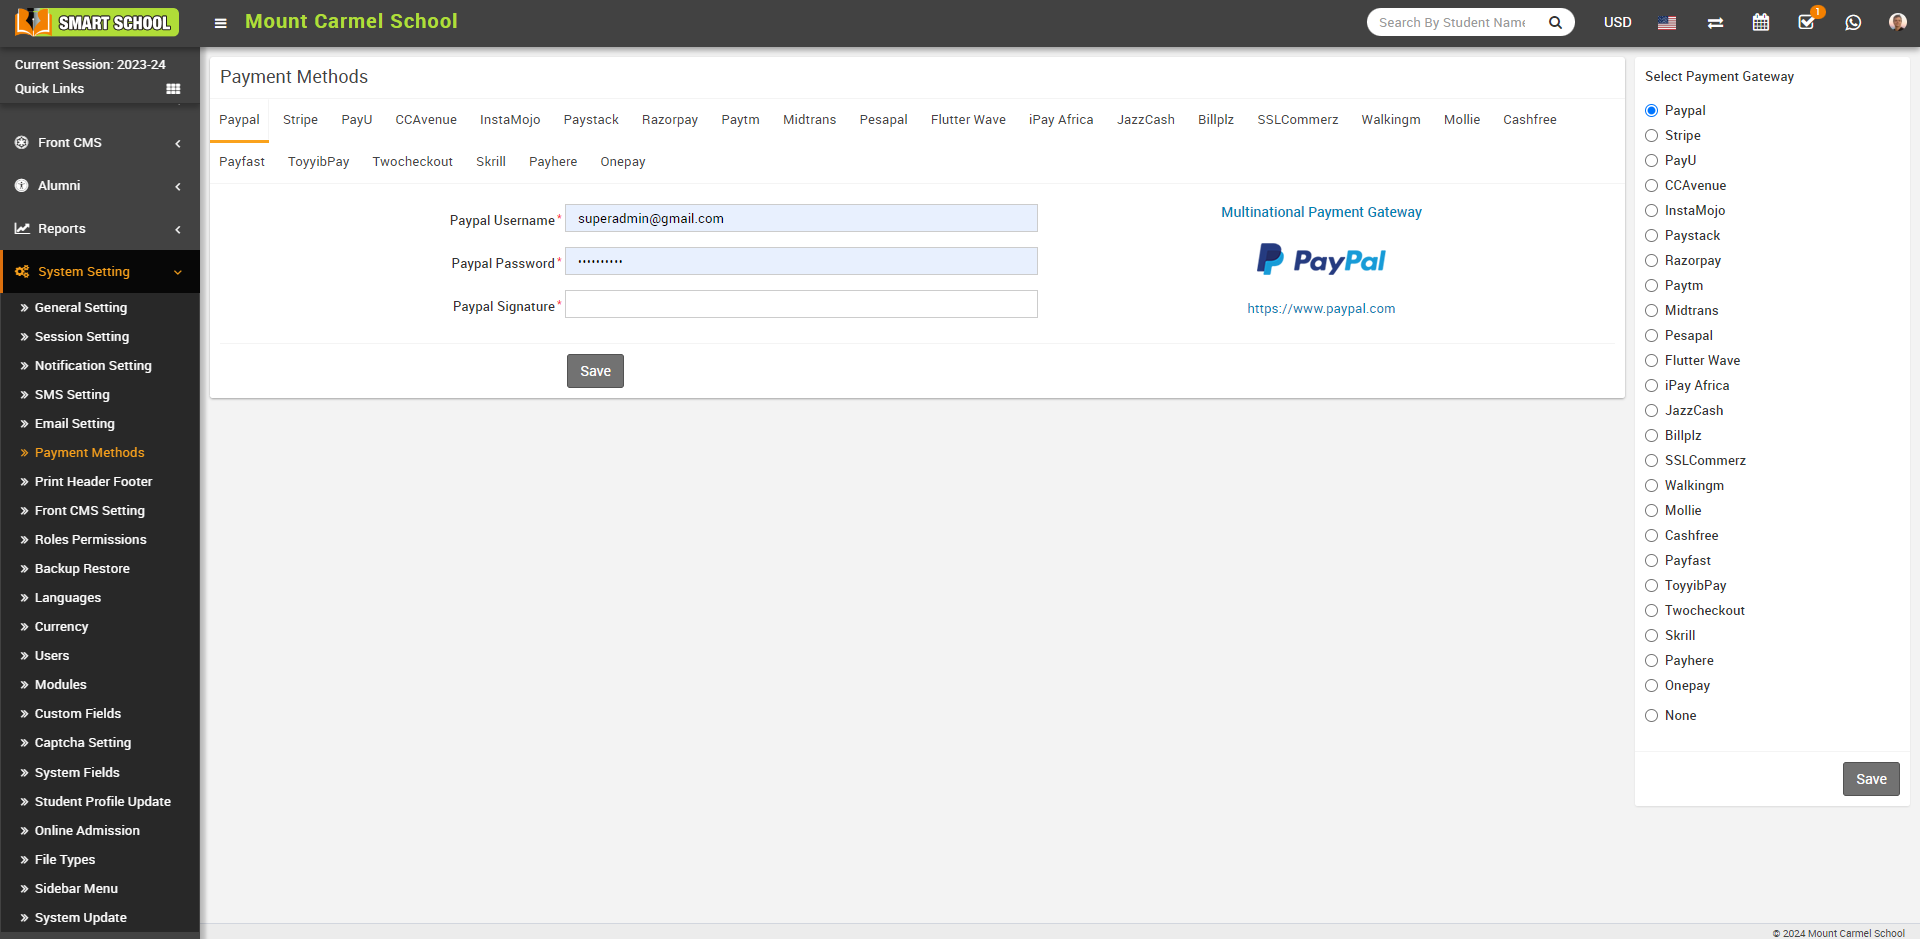
5. To enabling online payment in Parent Panel and Student Panel update your payment gateway account details for this, go to System Setting > Payment Methods select your appropriate payment gateway and add you payment gateway account details then click on save button and enable it from right side box.
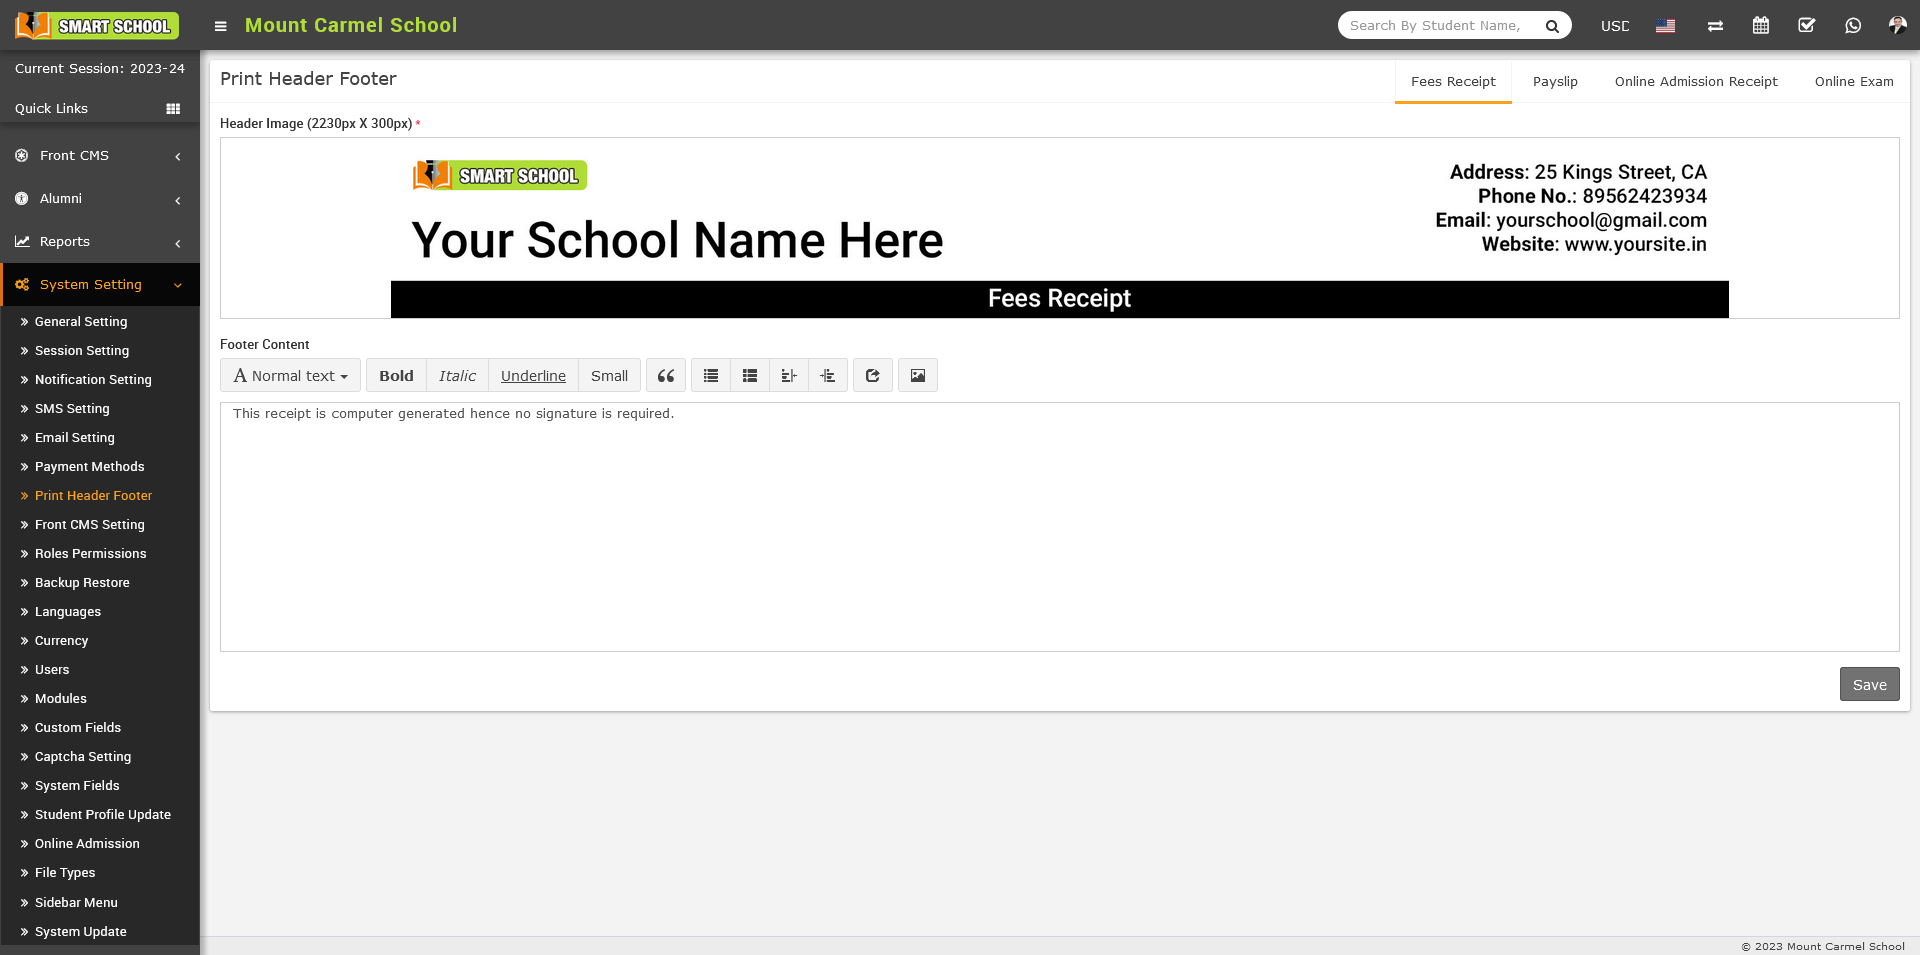
6. For updating Header image and Footer content of Fees Receipt and Payslip go to System Setting > Print Header Footer, then drag and drop or select your Header Image and enter Footer Content and then click save it. You can update Header image and Footer content for Fees Receipt, Payslip, and Online Admission Receipt and Online Exam by switching tab from top right corner of the page.
7. At this point we have completed basic setup of our school. Now we will add our academics in Smart School like Classes, Sections, Subjects, Teachers.
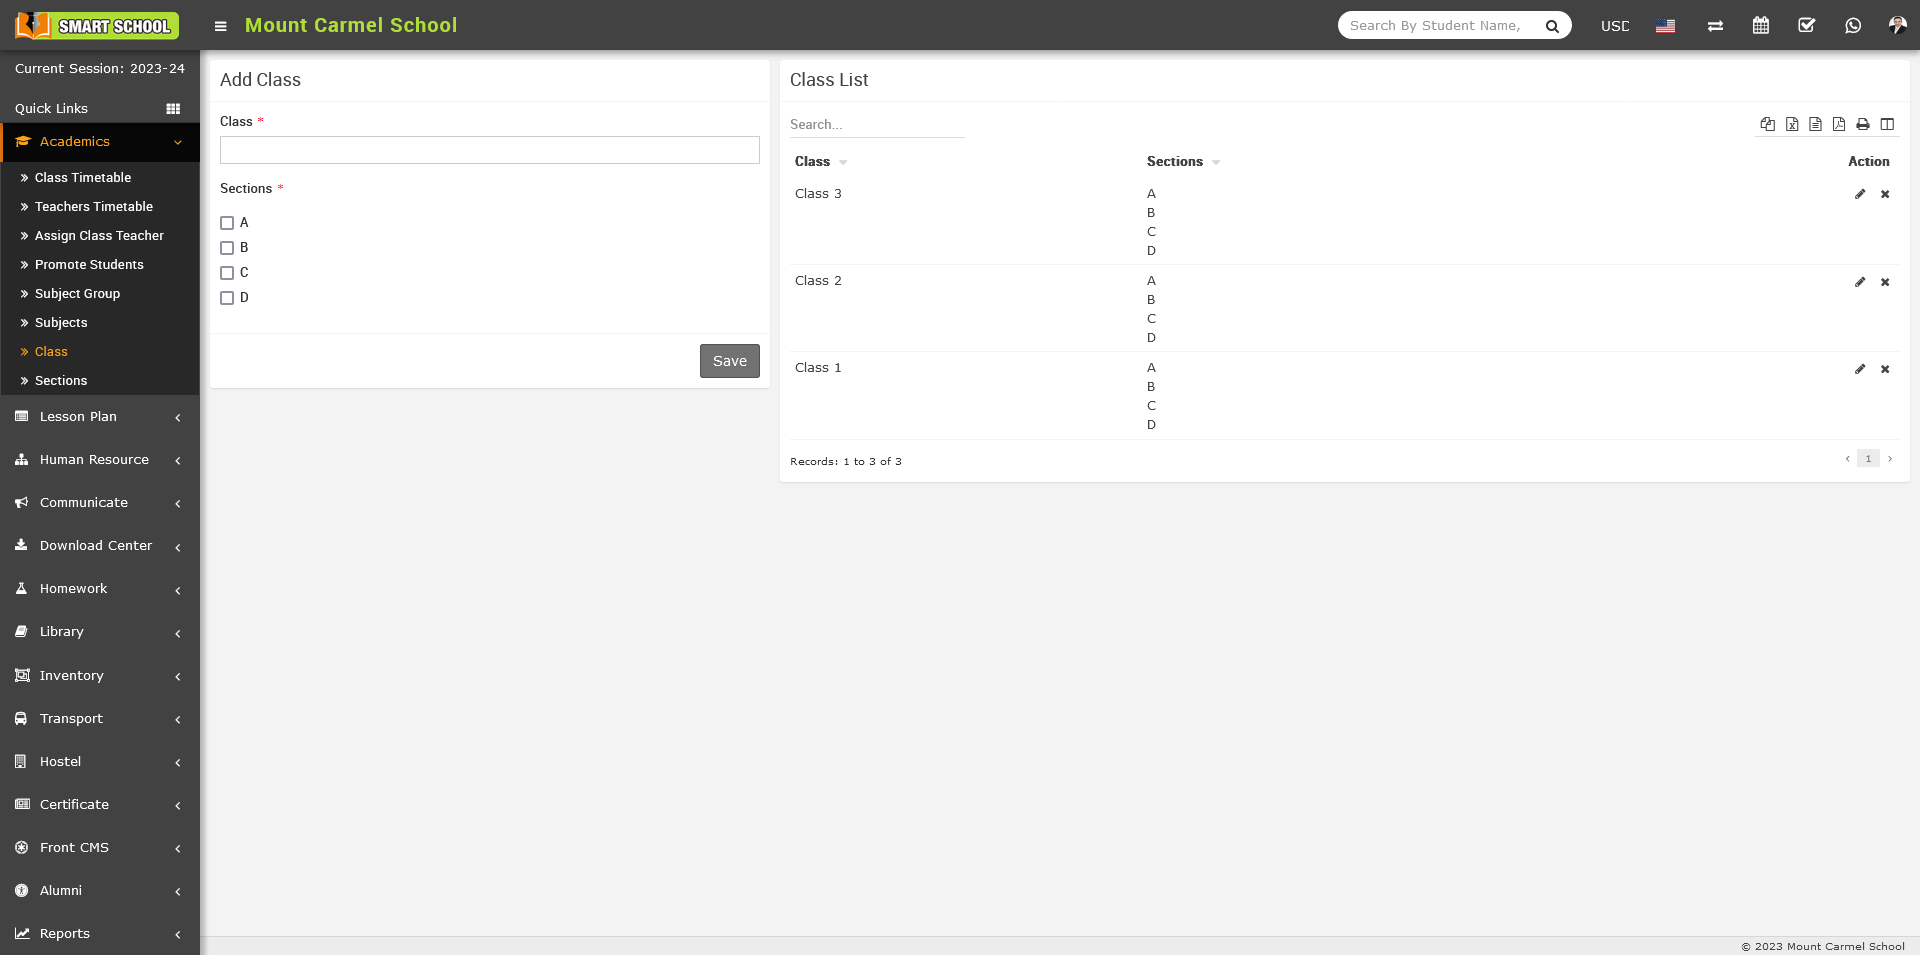
8. For adding classes go to Academics > Classes, before adding classes first add Sections from Academics > Sections. Select Sections comes under a Class when you adding a Class. Classes can be add from left side Add Class form and added classes can be see right side Class List. Add all classes running in your school here.
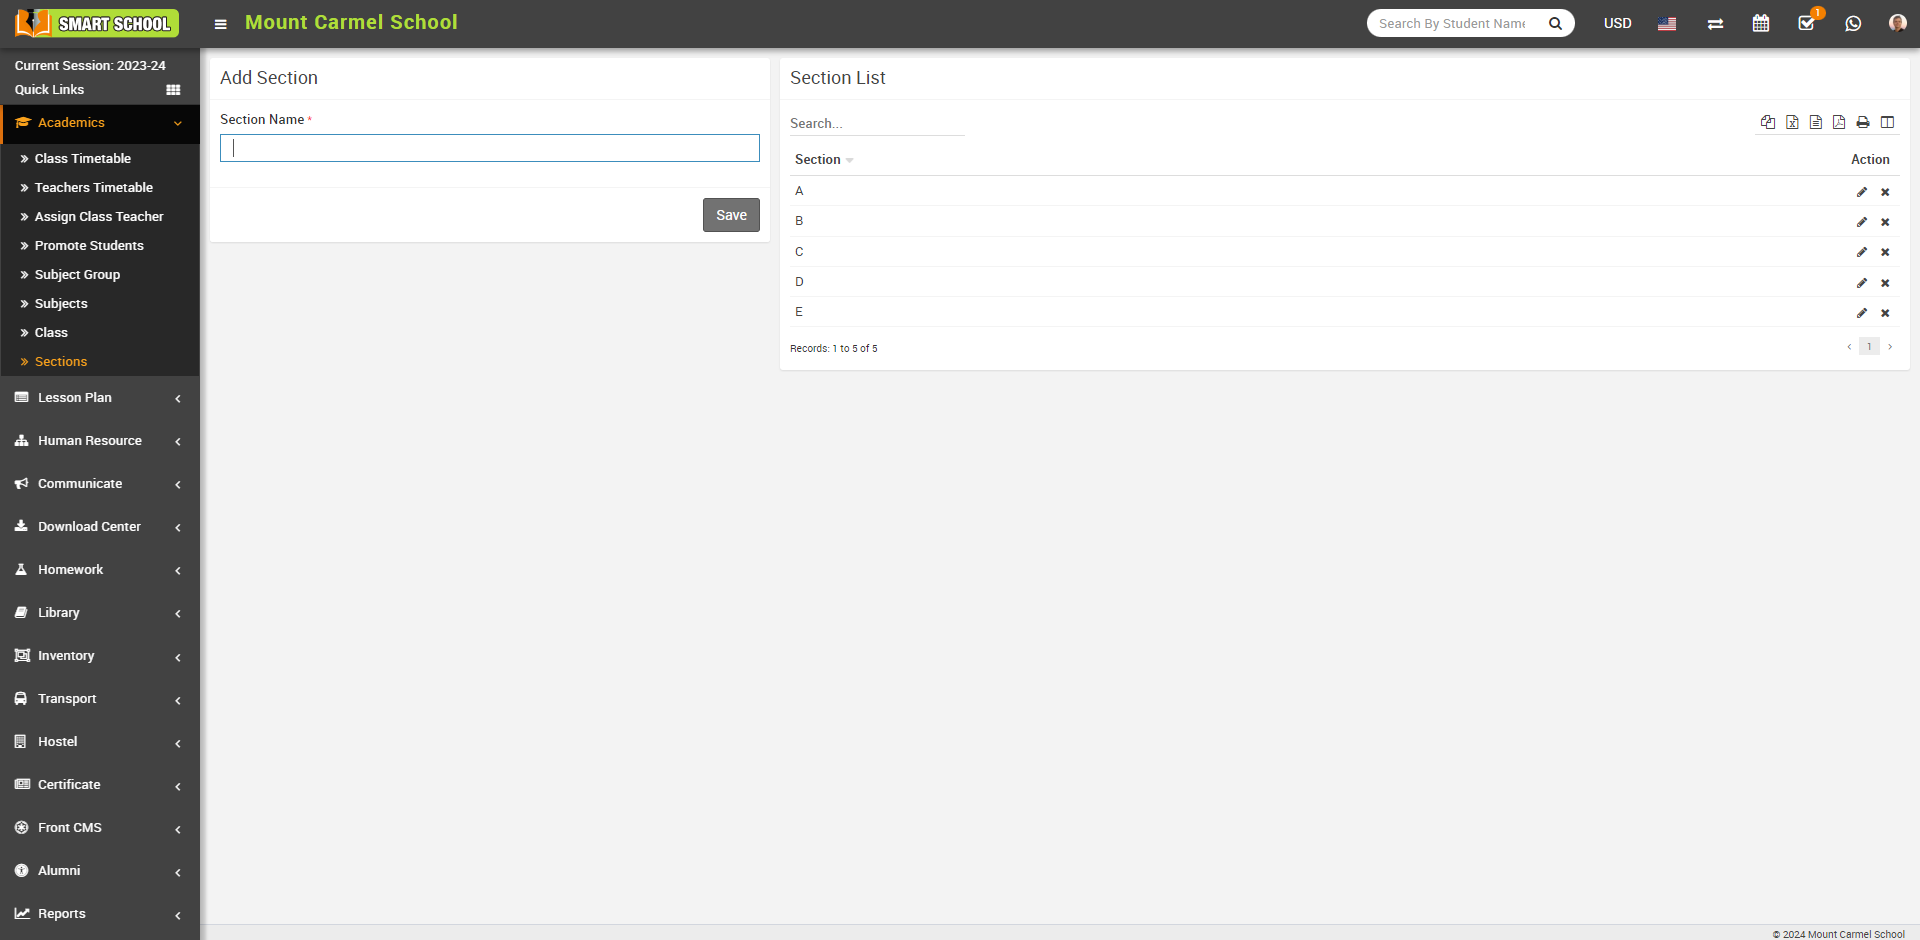
9. For adding sections go to Academics > Sections, Sections can be add from left side Add Section form and added section can be see right side Section List. Add all section name used in your school here e.g. Class 1 has 3 sections A, B, C and Class 2 has only A, B sections then we will add 3 sections A, B, C here. After adding sections, select section comes in a Class when you adding Classes.
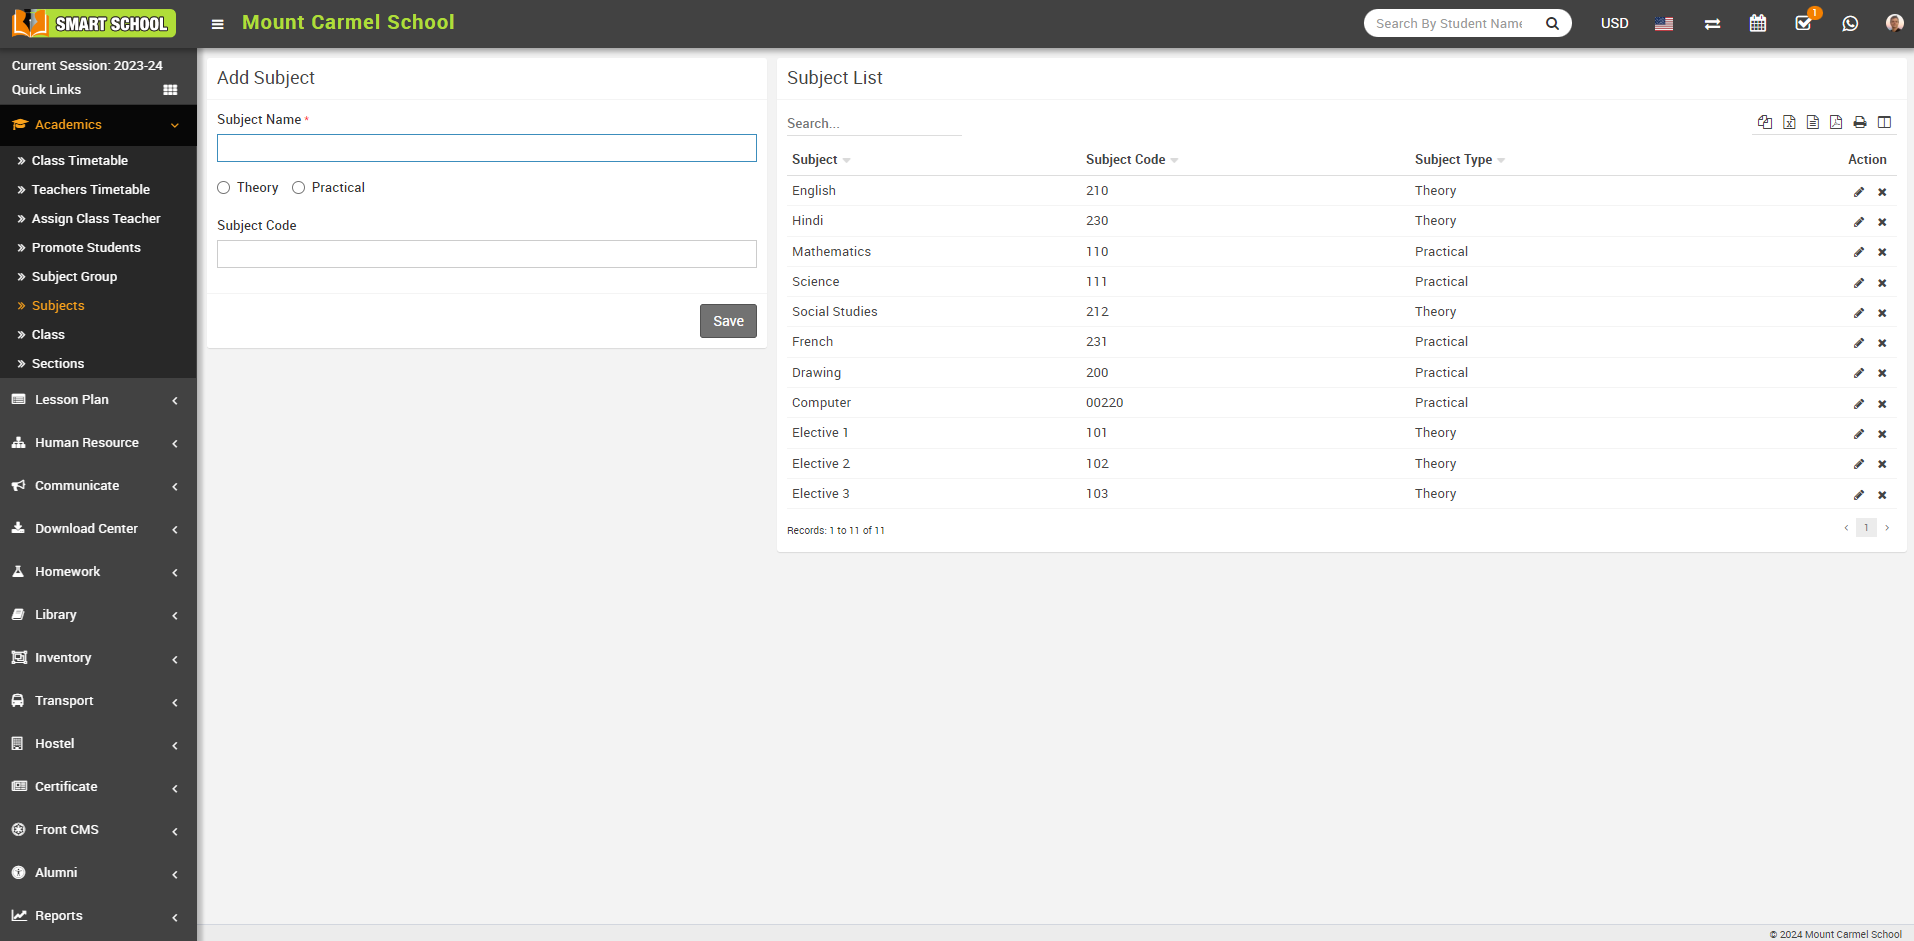
10. For adding subjects go to Academics > Subjects, Subjects can be add from left side Add Subject form and added subjects can be see right side Subject List. Add all subjects including theory and practical in your school here. Subjects can be assign through Subject Groups to their classes in next step.
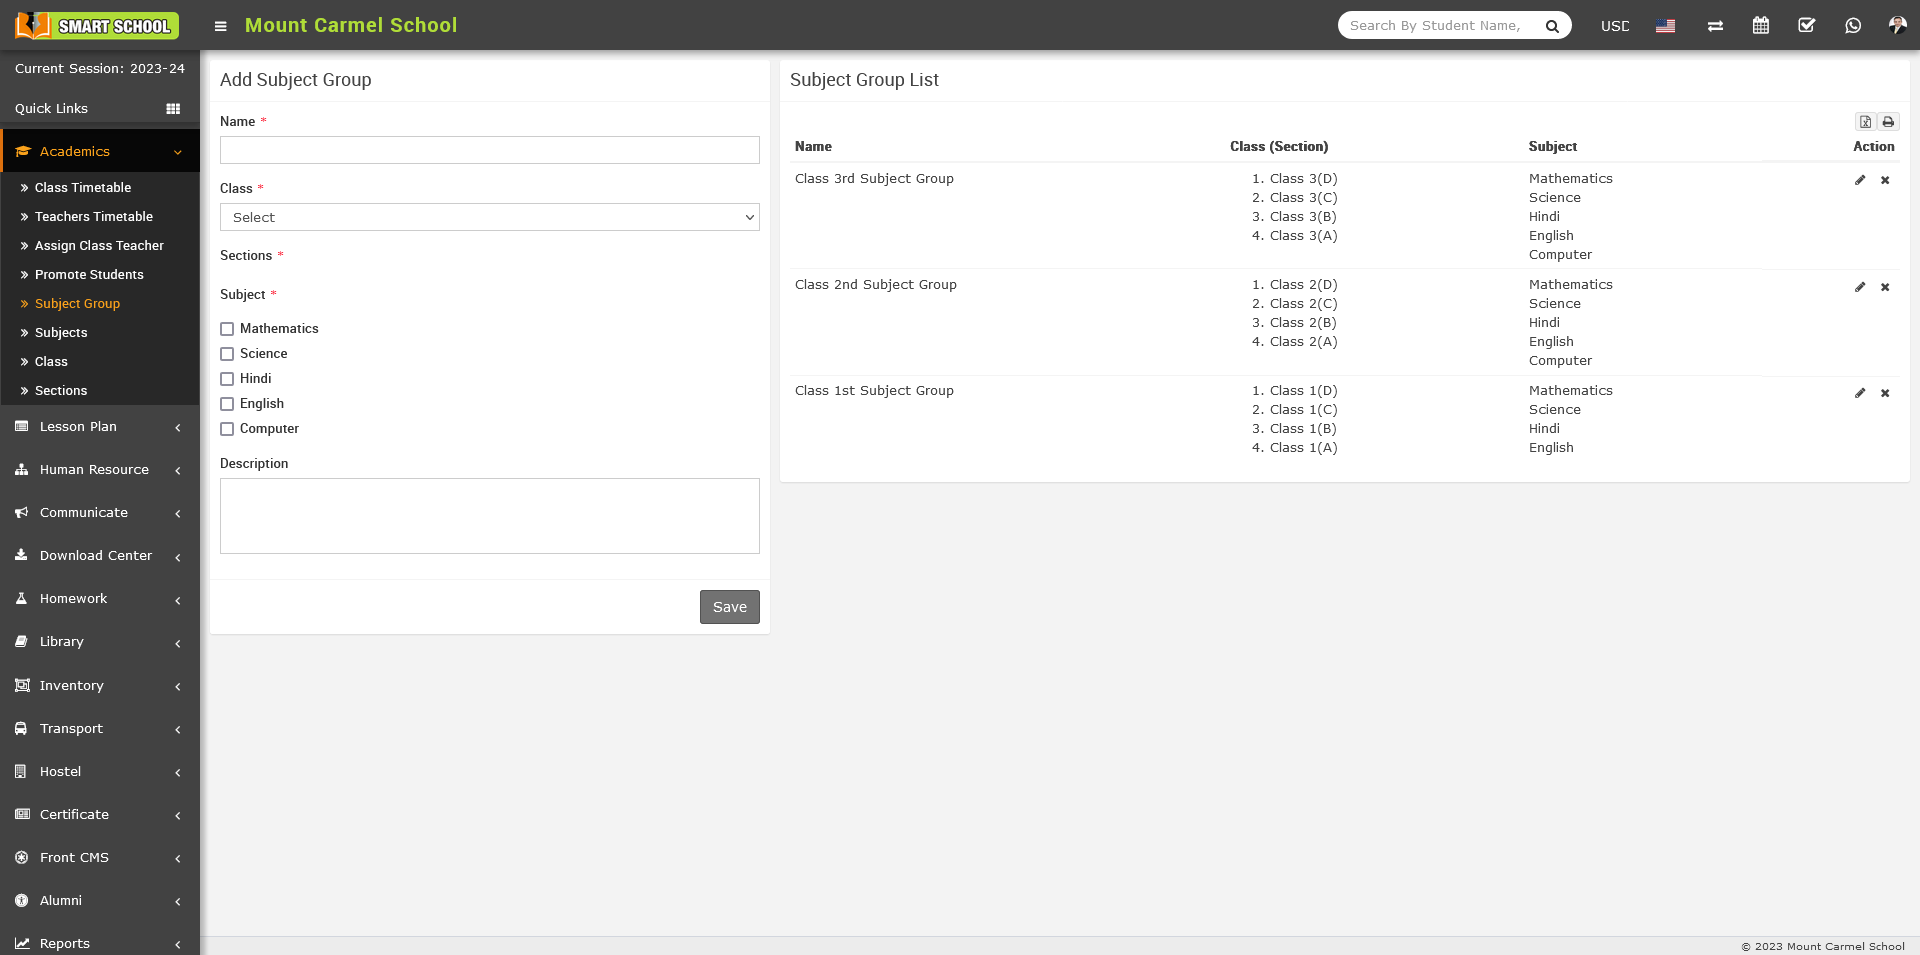
11. For assigning subjects to their classes go to Academics > Subject Group enter Subject Group then select Class and Section then select all subjects you want to include in this class and section as group now click on Save.
12. For adding Teachers go to Human Resource > Staff Directory, Teachers can be add from top right corner Add Staff button. At this page you can add any staff by selecting its role. If we are creating teacher then we should select role (Teacher) and designation.
13. Great! you have completed your Smart School setup. To understand each module in detail, go to its concerning article.