Thermal printing is used in Smart School systems for generating fee invoices. It operates without ink, using heat-sensitive paper to produce fast and efficient prints. This technology ensures low maintenance, cost-effectiveness, and high-speed printing, making it ideal for school fees environments.
To see Thermal Printer setting, go to the System Setting > Thermal Print, after click on it, Thermal Print page will be open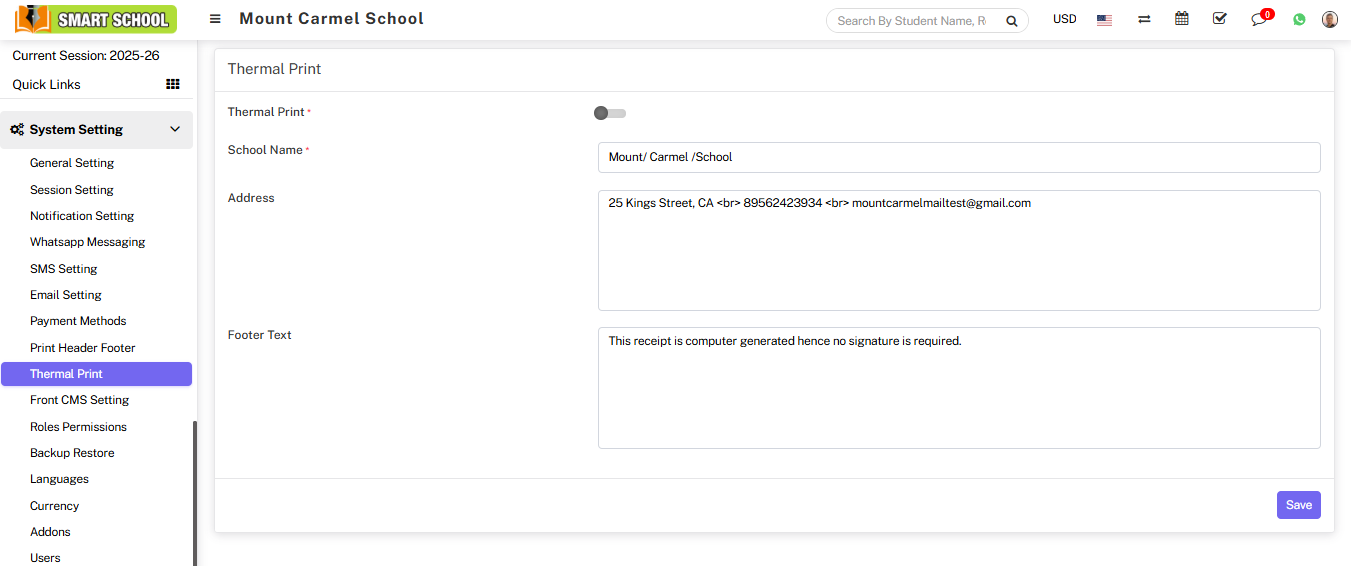
Before enabling the Thermal Print option, you must first complete the configuration. First, enter your school name, which will appear at the top of the print. Then, enter the complete address of your school. Finally, if you want to display footer text on the thermal print, simply add the details, and they will appear in the footer section of the print.
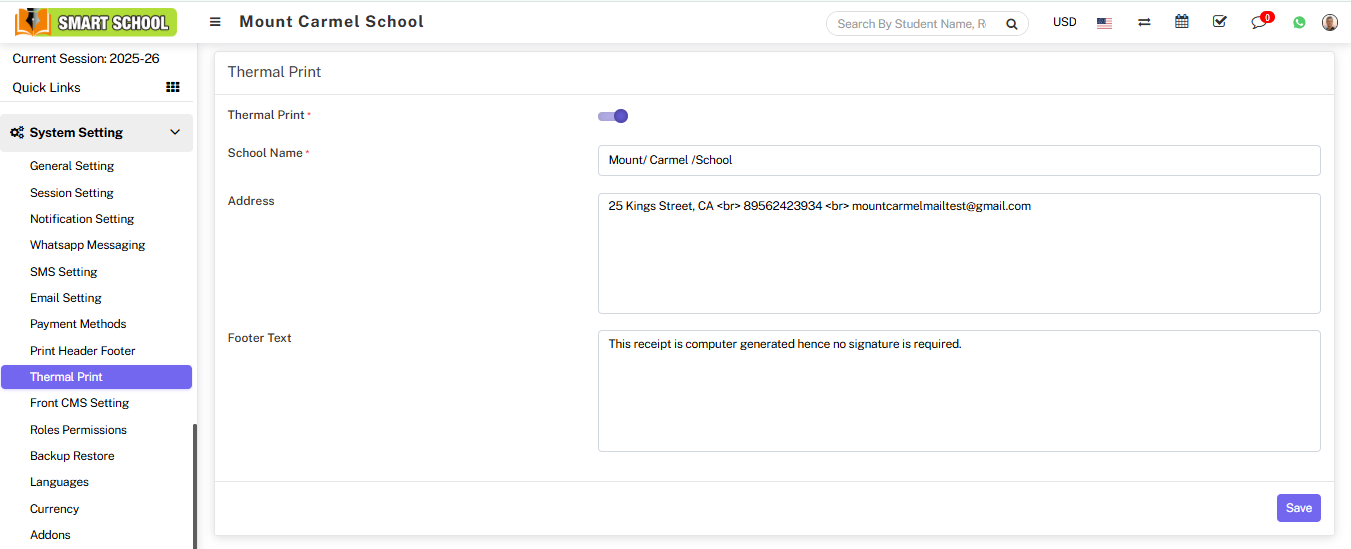
Now, on the top you can see 'Thermal Print Enabled/Disabled.' This setting allows you to enable or disable the thermal print view. Once you enable the thermal print option, fees print in Smart School will be available for thermal printing. After enabled the thermal print option now click on the Save button showing at the bottom, so above change will be saved.
Note: When the thermal print option is enabled, and you are ready to print, please ensure that the page width is set to 3 inches.
Now let see the print view of thermal print, Using Fees Collection module, if you require the fees receipt in thermal print, just go to the collect fees page here you will get the print option at the right side of the page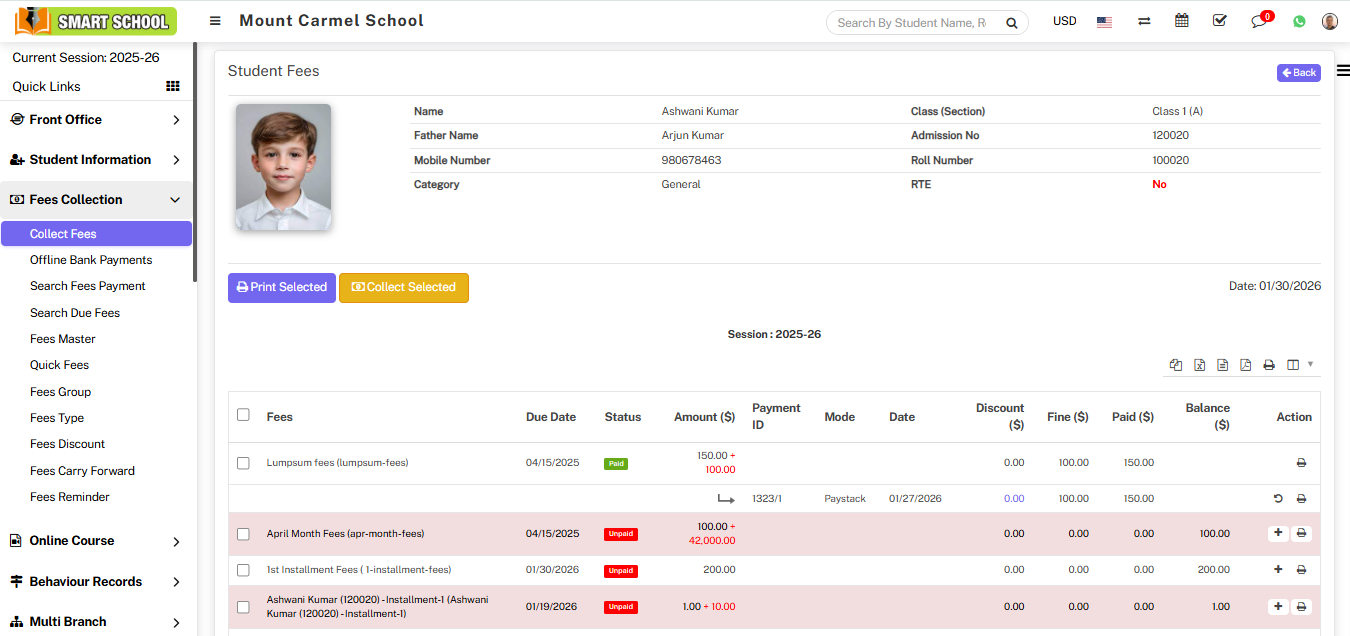
Note Currently thermal print are available for the Fees receipt and Online Course offline payment.
Now, click on print icon, Thermal print view will open.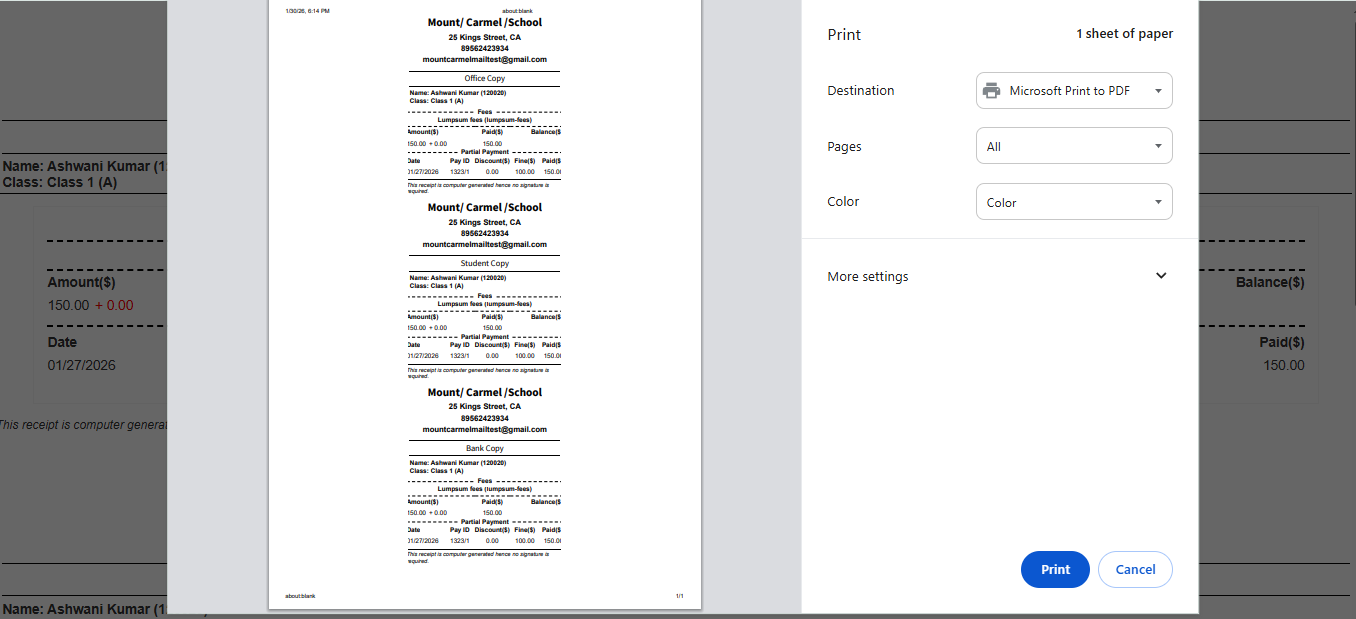
From here, you can print as needed. All prints will be available in thermal print format. If you do not require thermal printing, simply disable the option in the settings, and you will receive the normal print format for the receipt.